Showing posts with label Stained glass. Show all posts

Friday, 23 June 2017

Slapton Ley (glass panel)

Slapton Ley is a large, freshwater lake in Devon with amazing wildlife which includes many rare species.  It lies right next to Start Bay, separated from it by a fragile shingle spit.


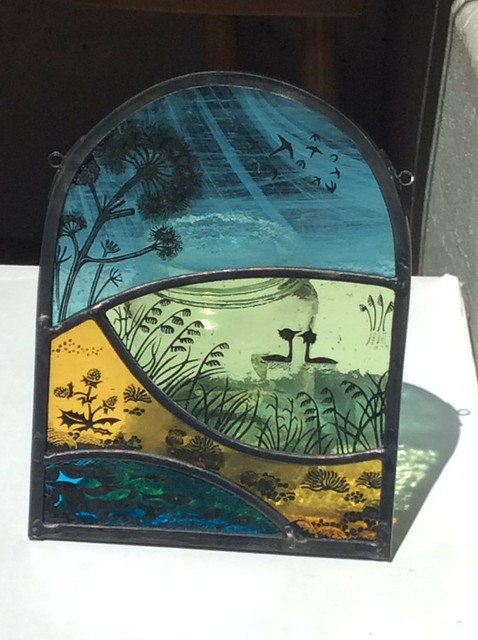
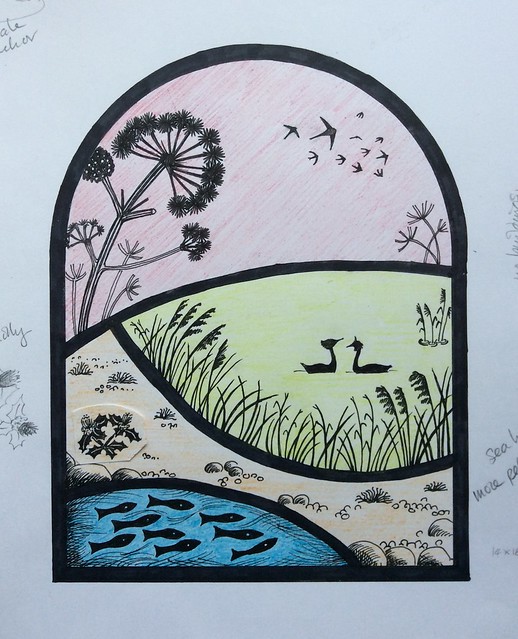
This glass panel was designed and made for someone who has a lifelong connection with the Ley.  As I've never been there, I had to make sure I got it to "feel" right!  I did a lot of internet searching, and talked about how the place looked with people who know it well.  This is the final design:
IMG_1074

Starting from the bottom, we have the sea (Start Bay), the shingle spit, the freshwater lake with two grebes, and a sky with giant hogweed silhouetted.  Although it's possible to see rare species such as Cetti's warbler and bitterns at Slapton I didn't include them as they tend to stay hidden.

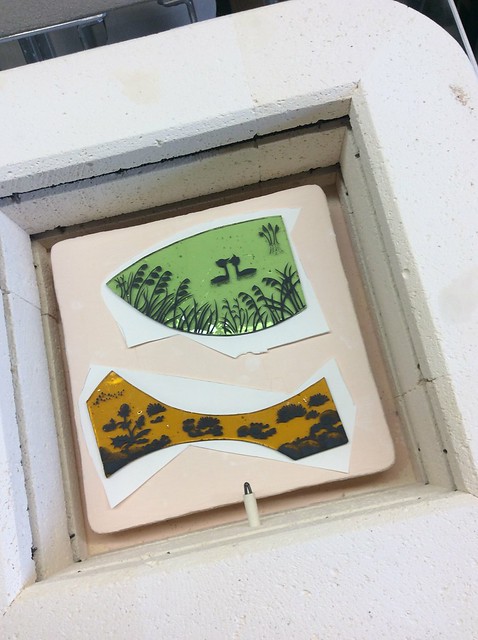
Here are two pieces of the panel ready to be fired in my kiln:
IMG_1095

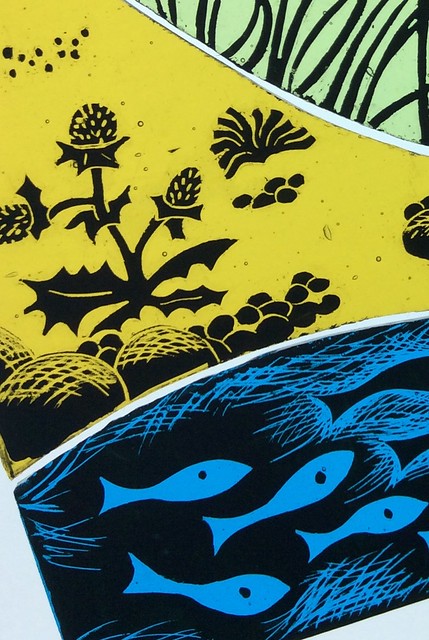
I really enjoyed making this one, starting from no knowledge and learning a lot about the Ley in the process.  And here's a close-up of the 'shingle' and 'sea' pieces:
IMG_1092

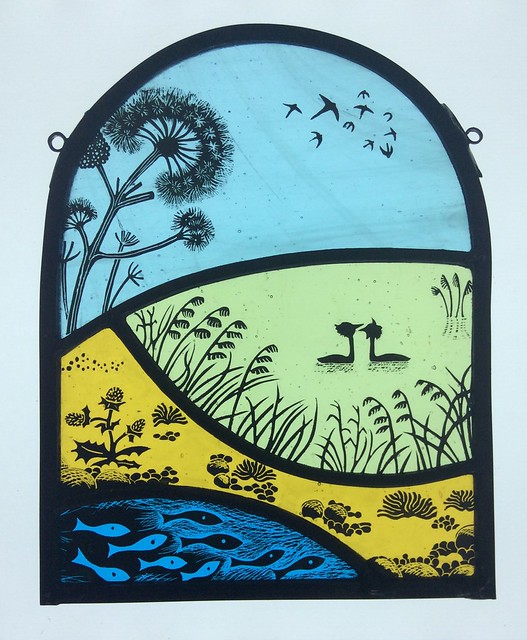
After lots of hours spent scratching paint, two firings of 12 hours each, then cutting and soldering the lead (plus polishing!), it was done.  As I couldn't find the right pink for the sky, I went with blue - and now I prefer it.
IMG_1100

One more for luck:

IMG_1107

Next, I'm doing some glass paint tests to see if I can improve the firing results.  There'll be lots of little mini-glass-pictures!
Vicky xx

Saturday, 25 March 2017

Uffington white horse

It's back to glass today!  A long time ago I lived in Oxfordshire, and would sometimes visit the village of Uffington where there is an ancient chalk horse carved into the slope of White Horse Hill.  It's reckoned to be about 3,000 years old, and is a beautiful, fluid, stylized shape.  Here's a particular lovely photo of it:


(photo credit: http://www.dronestagr.am/white-horse-hill-uffington-oxfordshire-uk/)

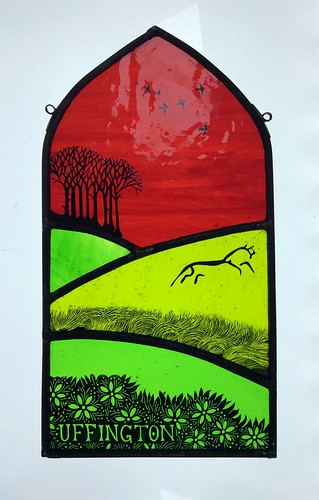
Anyhow, my memories of this place, its waving swathes of grass and the nearby lush woodlands have inspired my next piece of stained glass.

IMG_0976

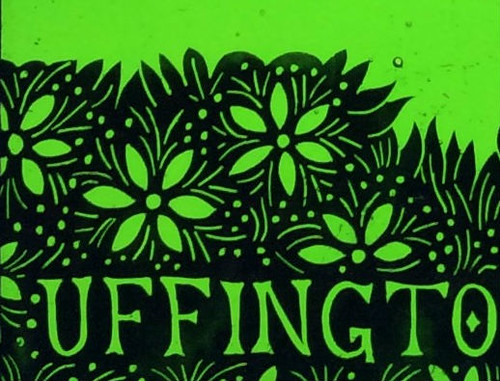
I started with wild garlic flowers (again) at the bottom.  The technique I use for painted glass is to apply the paint as a thick, opaque layer, then scratch it back to allow the light to shine through the pattern.  It takes a long time, but gives a lovely crisp image.

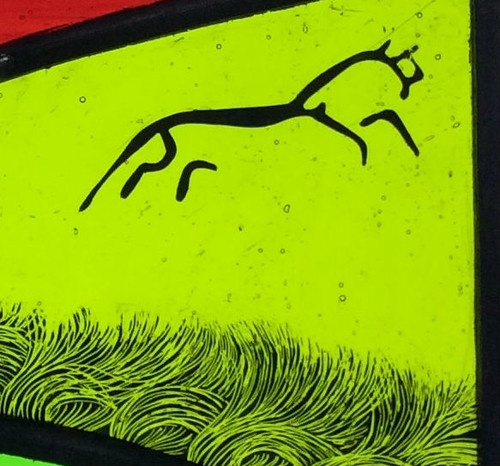
Uffington-detail01

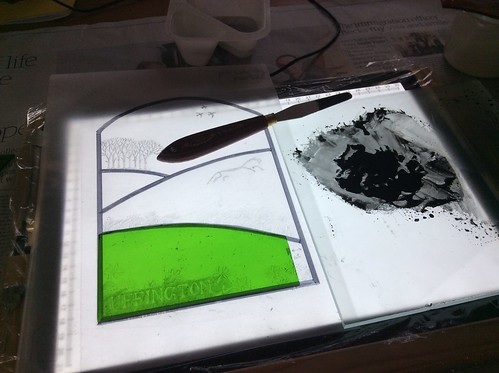
Here's my worktable as I'm about to start putting paint on glass - pretty messy!  Both the green piece of glass I'm going to paint, and the (glass) paint palette are on a light box, so I can make sure the paint is really opaque.

IMG_0855

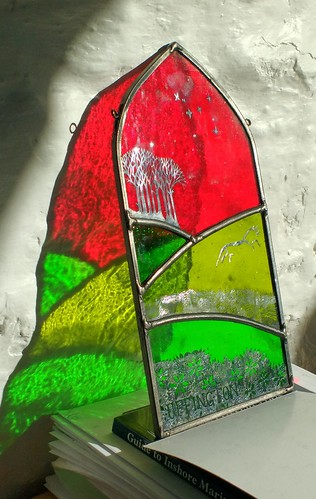
In the middle of the window is a grassy hillside with the horse, and above that a stand of trees which are characteristic of those along the Ridgeway.  The paler green glass is mouth-blown and bubbly!

Uffington-detail03

Here's the finished mini-window - about 15cm wide and 25cm high.  It's slightly hard to see, but the orangey-red glass has pretty streaks like a sunset.  It changed colour slightly when fired, which is something red glass can do.

IMG_0947

I'm planning to explore both the 'trees on the skyline' and 'ancient Britain' aspects of this a bit more in the future - more chalk figures, and ancient sites to come!
Also, I have woken up my Etsy shop after a long sleep, you can find it here.
Vicky xx

Thursday, 16 March 2017

The wild bird

Quick post today, back to glass briefly.

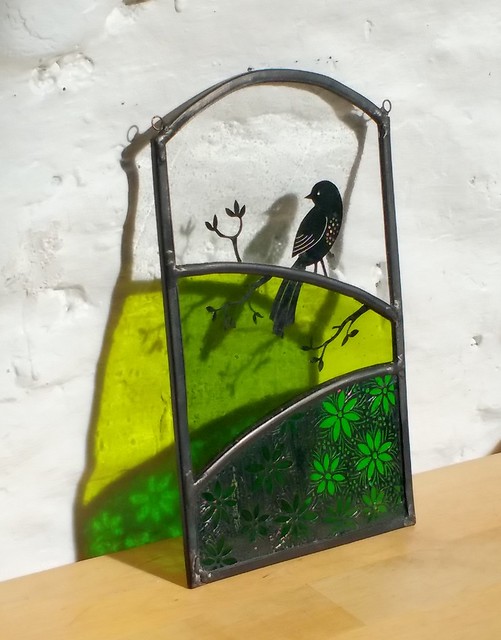
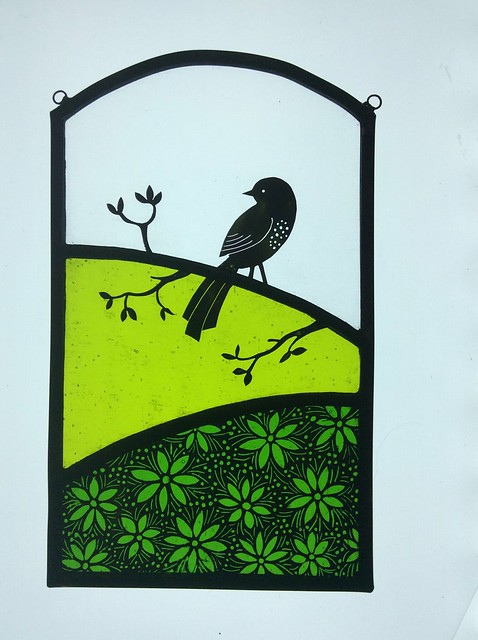
This mini window has a bird, perched on a branch over wild garlic flowers - perhaps it's in a woodland near here, where the wild garlic will soon be in flower and filling the air with it's amazing smell!  I can't tell you the exact species of the bird - top secret - so apologies if you are 'good' at birds and are wondering what it might be.

IMG_0974

As before, I have painted the glass, scratched the design in it (very like using scraperboard), and then it's fired at 600 degrees C and becomes a permanent part of the glass.  Each piece is then fitted together with the lead strips, which are soldered together and polished with grate-black.

IMG_0606

More glass pictures on Flickr!

Vicky xx

Saturday, 11 February 2017

Painting on glass

It's called Frosterley Bazaar for a reason - and the reason is, I can't just do one thing!  Last year I began experimenting with painting on glass, firing it in a kiln at 600 degrees C and incorporating it in miniature leaded windows.  Previously, I've made stained glass with 'normal' coloured glass, but this technique brings a whole new level of detail and possibility!

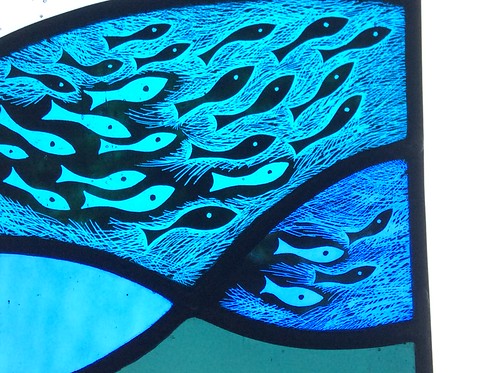
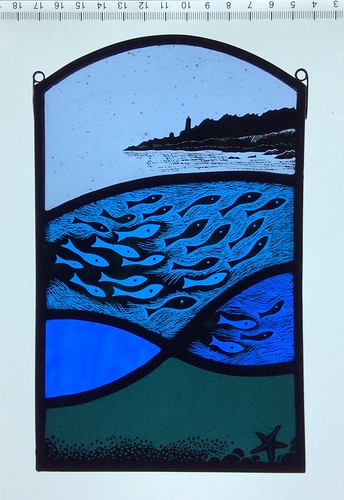
One of my first experiments was a shoal of fish rushing through their underwater world, some emerging from the dark depths, some silhouetted against the light.

IMG_0975

IMG_0732

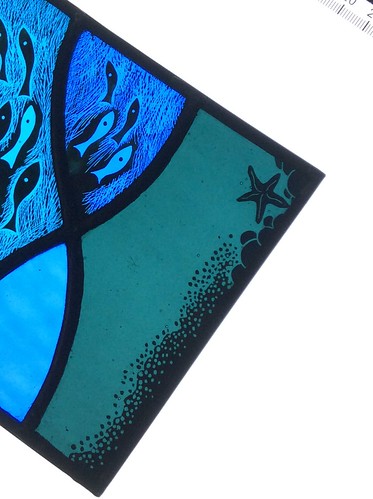
The process involved in this is to paint (or 'matt') the glass completely with black paint, and then using nothing more complicated than a pointy stick, to scratch the design through the paint.  It's very like using a scraperboard - mistakes can't be undone, they have to be incorporated (so, COMMIT!) and you have to start thinking in black and white, not shades of grey.

IMG_0735

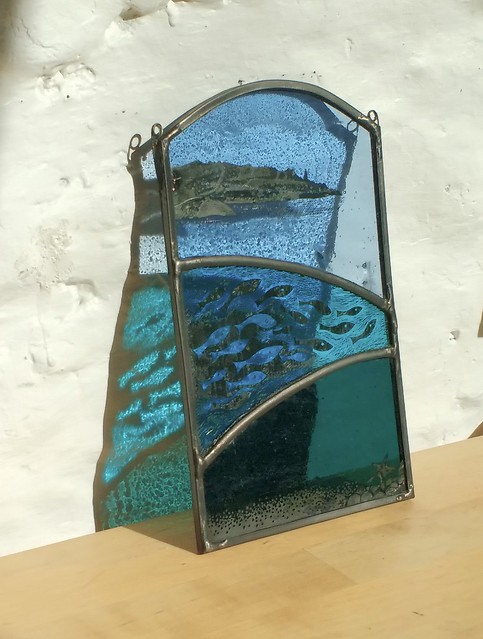
Inspired, some 20 years after the fact, by my marine biology degree, these pieces were put together into this window for a friend which incorporates a favourite headland:

IMG_0723

I'm still sewing and knitting (and crocheting a new mad teacosy), but glass is going to predominate in 2017! I hope you like glass!  Happy new year!

Vicky xx

Sunday, 5 July 2015

Front door-to-be

Three years after my first go at stained glass, I've made another piece.  Been meaning to make another piece ever since that course, but you know what happens.

Anyway, the plan is for this to become a window in our new front door.  We have to get the door made first, now that we know how big the window is! (I expect the professionals make their windows to fit the gaps, but I'll move on to that later...)


It was inspired by this window that I saw in Hobbiton, New Zealand


It has a bit of 1930s look to it, but with a Hobbitty twist - nearly every door and window in Hobbiton has a lovely little detail like this.  Here's a closer look:


The Hobbiton window is all plain glass, but I've mixed it up with some colours and some red spots.  The lead is 6mm - I started off with 4mm (nightmare, too fine for my wobbly glass cutting!) and couldn't get any 5mm quickly, so settled for the 6mm.  Now it's done it looks fine, but next time I'll try the 5mm.  I have plans for new bathroom door windows!

Soldering was a bit of an issue too.  Once it's a window it will be harder to notice the textured solder, but I definitely need to improve my technique.


Vicky xx
Related Posts Plugin for WordPress, Blogger...