Sunday, 23 November 2014

Sew Together bag

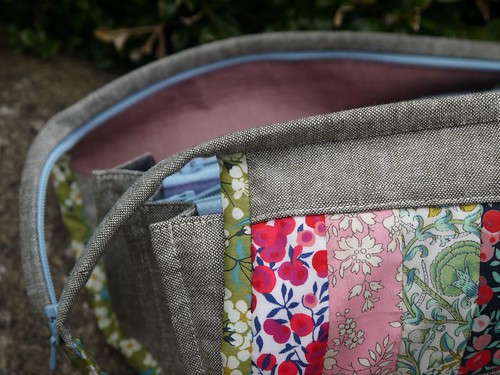
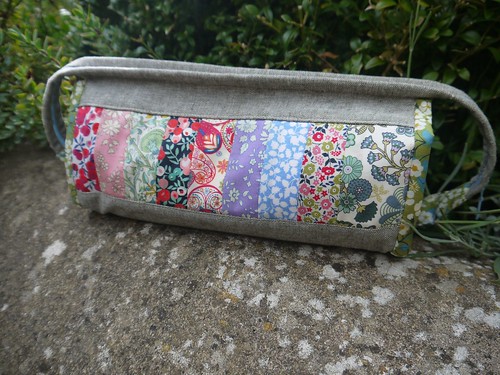
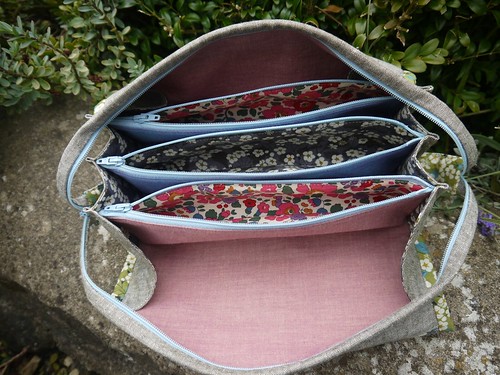
I really *heart* this bag! It's a great pattern, and works really well.  I chose linen for my bag outer, with some Liberty lawn scraps on the front, Liberty lawn binding, and for the inside pockets I've used a mixture of Kaffe Fasset shot cottons and more Liberty lawn.

P1060049.JPG

The pattern does use a lot of zips, but to great effect.  If you're not sure about sewing zips in when you start, you will be by the end of this!  I really liked how the bag turns into a round-shaped thing when it's finished, even though it only uses straight seams, and the extra-long top zip lets the bag open really wide.

P1060059.JPG

I chose to stitch the second edge of my binding down by hand, as I wasn't sure I could do it completely neatly by machine.

P1060063.JPG

To me this bag turned out perfectly.  Liberty lawn makes anything look good, and mixed with linen it's divine!  Try some today!

Wednesday, 22 October 2014

Zippy trippy two

It was kind of inevitable - once one child had one, the other wanted one! So here's my second Zippy Trippy (based on Noodlehead's pattern).

P1060282

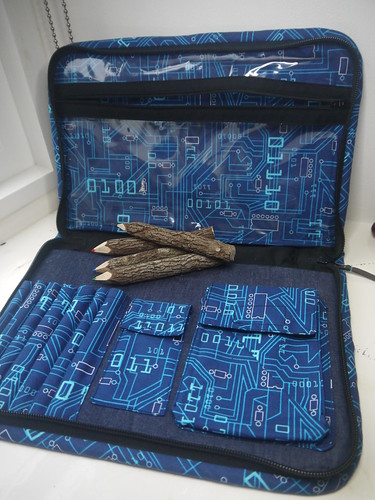
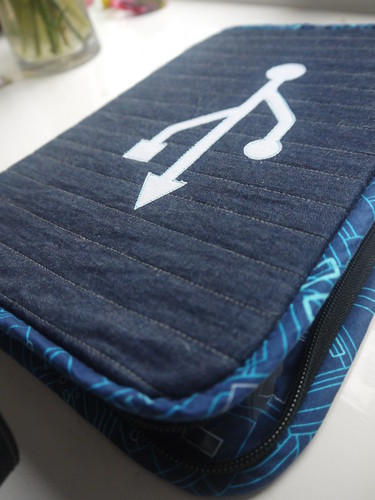
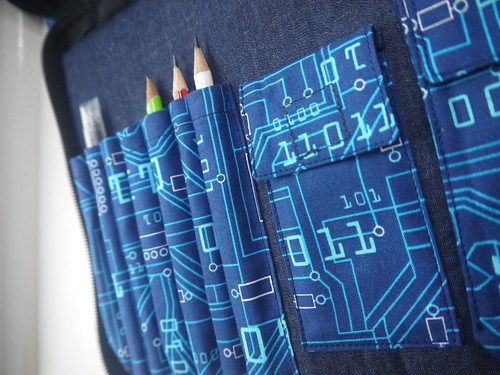
This one has a denim outer, with (by request) a USB symbol on. Inside there's the same vinyl pocket as before, some pencil slots, and also some small pockets for memory sticks and calculator. The binding and pockets are made with some really cool circuit board fabric that I found.

P1060276

Both Zippy Trippies are in regular use I'm pleased to say. They're a bit of a faff to make, especially sewing that last central piece in place once I've put cardboard in the front and back (I don't think the Noodlehead pattern uses this), but worth it. I'll never get tired of zipping that zip all the way round!

P1060281

This might be the last one of these I make for a while. Seeing them being used makes it worth the effort of completing them, but they're still a whole lot of work! My next project is a pattern that's all my own....watch this space....

Wednesday, 10 September 2014

Some vintage hexies

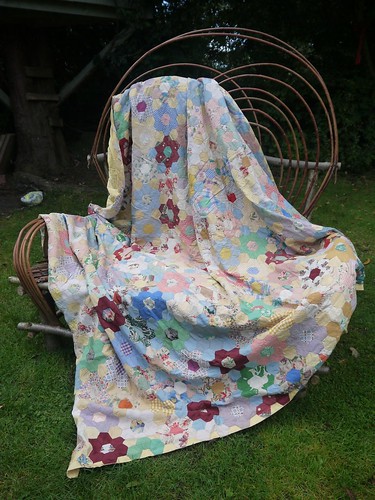
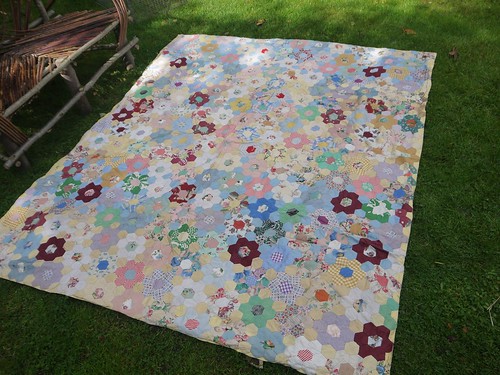
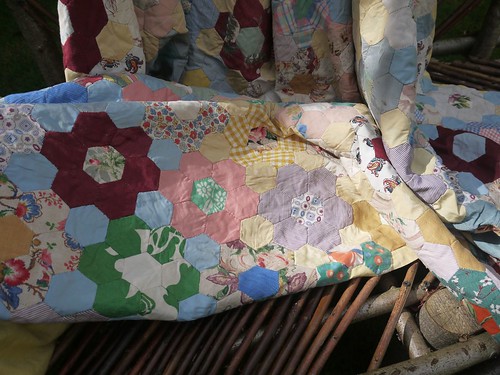
Here's my grandmother's quilt:

P1060102

P1060118

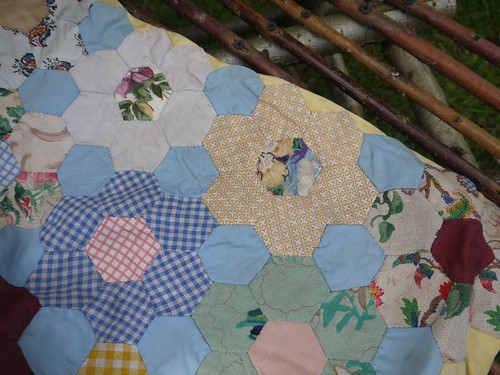
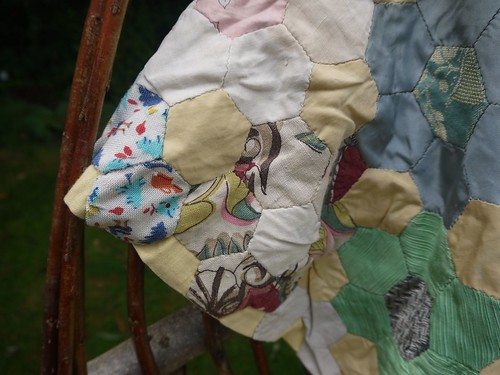
Well, really I think it's a coverlet, as it has no wadding, just the top layer and backing. It was made by my grandmother in the 1950s, entirely from hand-stitched English paper pieced hexagons. The fabrics are a mixture of furnishing fabrics and dress fabrics, with a yellow chintz back. Between the hexagon-flowers, there are pale yellow and blue background hexagons.

P1060116

Each of the 132 flowers in the patchwork is made of seven hexagons, joined to its neighbours and the other rows with two of the background (yellow or blue) hexagons. So, not counting all the bits at the edges, that's at least 132 x 9 = 1,1188 hexagons. All cut from paper and fabric by hand. WOW!!

P1060114

This coverlet is big enough for a double bed. It's very well preserved, with only a few frayed patches, so I'm not sure it was ever used very much.

P1060117


Hexagons are my favourite shape of all time! They remind my of bees, and how industrious they are.
I have a hexagon quilt in progress, and another hexagon project in mind - but I'm afraid I don't have the patience to hand-stitch mine together! My quilt hexagons are made from half-hexagons joined into strips and then the strips stitched together. One day I might persuade myself to make a small piece of paper-pieced hexagon patchwork with Liberty scraps, but likely not this year!

Saturday, 9 August 2014

Zippy trippy

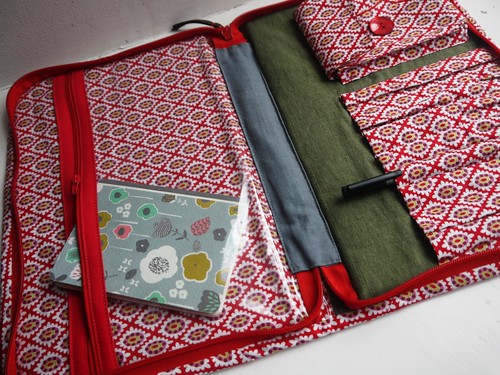
If you've seen Noodlehead's road trip case, I bet you like it - I did. So I made one, and here it is!
P1050693

Anna's pattern is for a case that will store craft bits, but I wanted mine (well, my daughter's, let's be honest I'm a bit old to be see with cute things like this!) to hold pens, pencils, scissors and notebook etc. So it needed a zip all the way round, so that when it's closed the notebook is enclosed in the middle and doesn't fall out.
P1050691

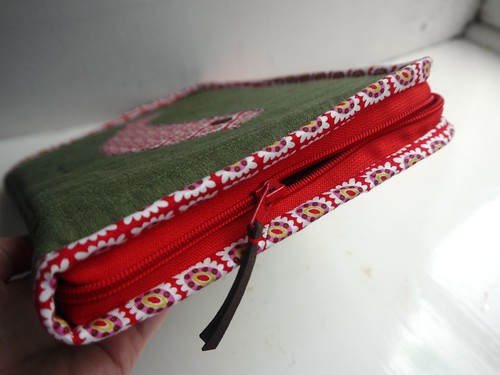
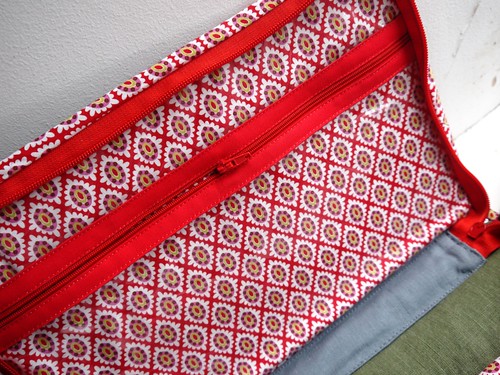
To apply the zip (it was a VERY long one, about 80cm) I stitched it all the way around the edge with a small seam before I applied the binding to the edge. Then I stitched the binding on top, pressed, turned to the outside and hand-stitched down. To cover the ends of the zip in the centre of the case I machine stitched a rectanlge of linen along the centre fold (you can see it in grey in some of these photos).
P1050689

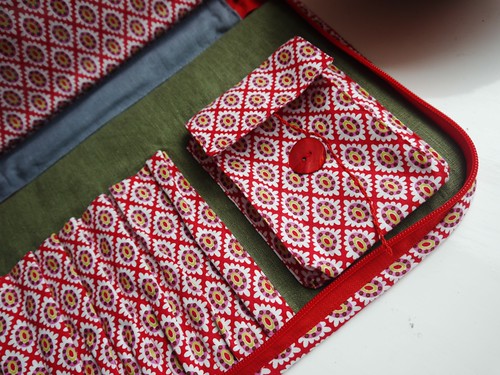
I love the big vinyl pocket, I'd never sewn vinyl before but it was fine. I think I did use the walking foot for some bits to make sure it moved smoothly under the presser foot. This is such a great idea for a pencil case, to be able to see what's lurking in there! If you're in the UK, I got my vinyl from Dunelm, but I expect there are other places selling it too.
P1050688

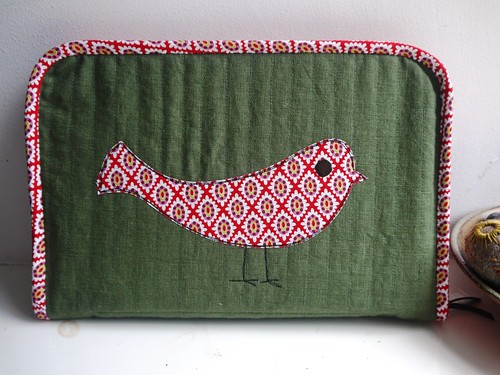
At the bottom I sewed eight slots for pens or pencils, and a larger pocket for a calculator or small cards etc! And on the front, I couldn't resist adding my current favourite birdy! (Originally seen on this mat I made).
P1050686

Next on my list is a boy version, for Thomas (well, after I've finished a few other urgent jobs like a summer dress in denim, a Sew Together bag, etc). He wants to use some rather funky circuit board fabric I found him a while ago....
Monday, 7 July 2014

Summer Leaf on the cover!

Look what's on the cover of Quilty magazine's latest issue! Yes, it's Not Orange Peel! (cunningly re-named 'Summer Leaf' by Quilty magazine).

Sunday, 25 May 2014

Second kitchen mat

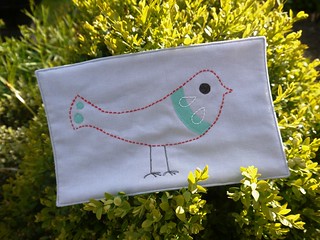
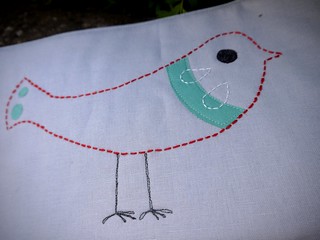
I love my fish kitchen mat so much, I made another one this time with a bird on. The bird motif came from an IKEA print that I love - hoping IKEA won't mind me hacking this!

P1050155

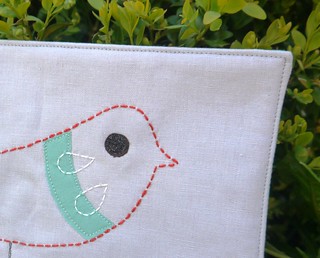
As I didn't have thick red machine thread to make the outline of the bird, I used my sashiko thread and needle to make the outline in running stitch. Then I used fusible web and machine applique/embroidery to add the neck stripe, eye, spots and legs.

P1050153

The front is some pale grey linen, and the back is Kona aqua. Inside are two layers of natural batting, with heavy quilting onto the back fabric.

P1050152

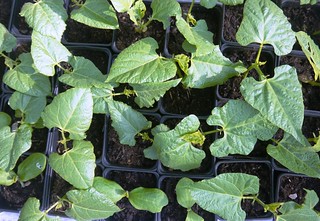
And I'm so excited that my runner beans are growing (and the slugs haven't got to feast on them yet!!) that I'm sticking a picture of them in too!

P1050158

Friday, 23 May 2014

Sewing a shirt

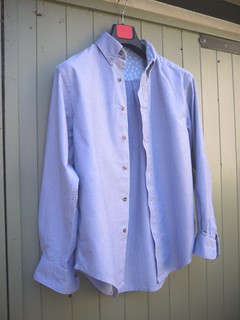
A long time ago, when I was about 18, I used to sew clothes all the time - I was the kind of square who preferred making things to buying them! The only thing that's changed since then is how much free time I have to make those things! So it's been a rare event, these last 20 years, for me to make any clothes (with the exception of my wedding dress and some dressing-up costumes for the kids). However I made another exception last year, and made my husband a shirt, probably inspired by the Great British Sewing Bee and their shirt-making task.

P1050138

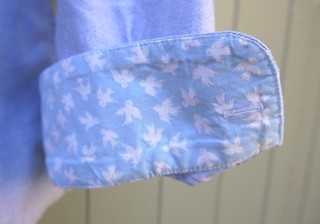
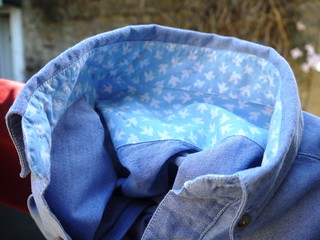
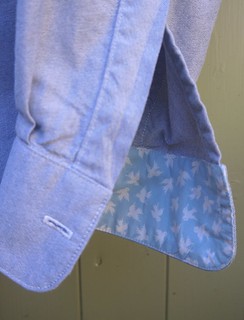
I ordered traditional cotton Oxford weave shirting from Acorn Fabrics, and the husband helped choose the print that would go inside the yoke, collar and cuffs (Hanky Panky in blue).

P1050139

A man's shirt isn't a difficult thing to sew, if you have plenty of time. Fitting is usually straightforward, especially for a smart/casual shirt - as long as you get the chest size right and the arms the same length, it should fit fine as it's not a close-fitting garment. You can adjust arm and back length if necessary before cutting out the garment, but I don't see any need to make a toile (although if you've never applied a collar and collar band before, it may be worth cutting these out from scrap fabric for a little practice sew).

P1050147

The pattern I used for this shirt was McCalls 2447. I wanted a pattern with a full back yoke - some very casual shirt patterns leave this out - a collar band, and sleeve plackets (that's the split that let's the cuff open wide). This pattern seems like one that will look great made up in many different fabrics and styles, so I intend to use it again and again.

P1050142

Mike was very happy with his finished shirt, and it's had quite a few trips out of the wardrobe. The cotton Oxford is a lovely heavy weight, although it does need ironing! I finished all the seams as flat-felled, so there are no raw edges inside, and top-stitched everything to give the shirt a professional finish. Very enjoyable to make, and I love seeing Mike wearing something I've made him!
Related Posts Plugin for WordPress, Blogger...