Showing posts with label Bags. Show all posts

Sunday, 19 February 2017

Waxed cotton tote

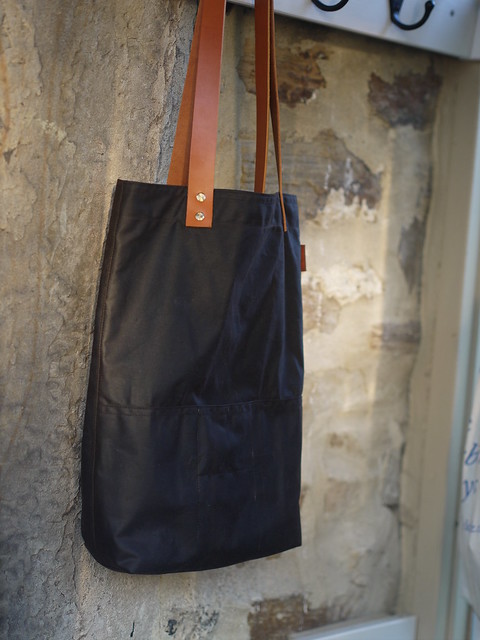
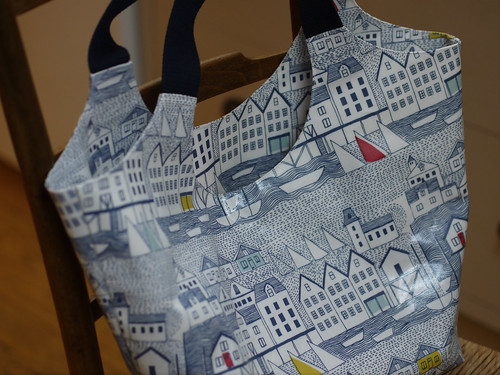
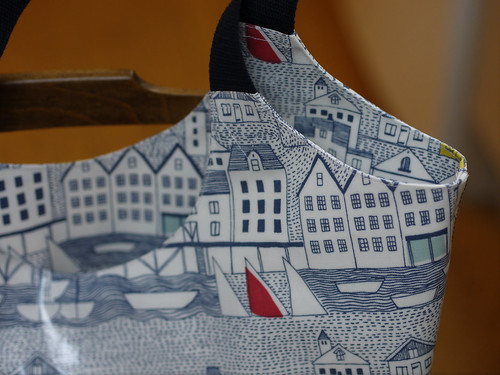
Here's a bag I've been meaning to make for a long time (two years?) - a tote bag in waxed cotton, with leather handles:

P1150668

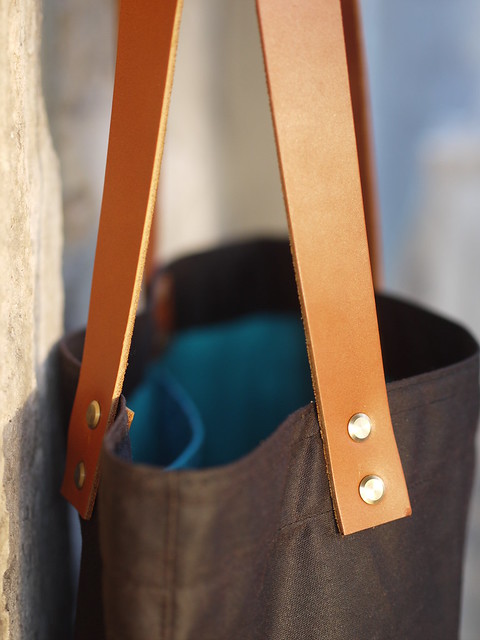
I bought the waxed cotton so long ago I can't remember where it was from (!) but I think it's pretty easy to find these days.  The leather I bought as one long, inch-wide strip (from eBay I think), and the rivets are sturdy screw-threaded ones.

P1150667

I made this bag wide enough, and with box corners, so that I can fit a pair of flat shoes in the bottom.  In January I did a lot of travelling for work, using trains and taxis to get to client meetings, and found myself changing my shoes a lot.   For the Underground I needed my sensible flat mary-janes, but they're too scruffy to wear straight into 'proper' meetings - so I would stop in reception and stuff them in my bag, swapping for smart heels!  Then in the taxi back to the station I'd change back into the comfy shoes!

P1150675

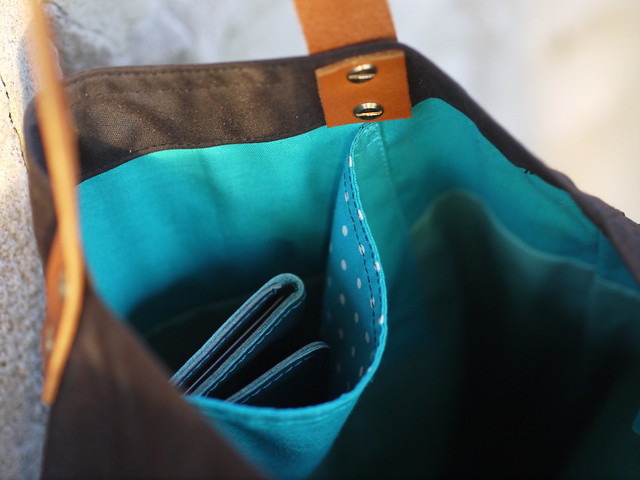
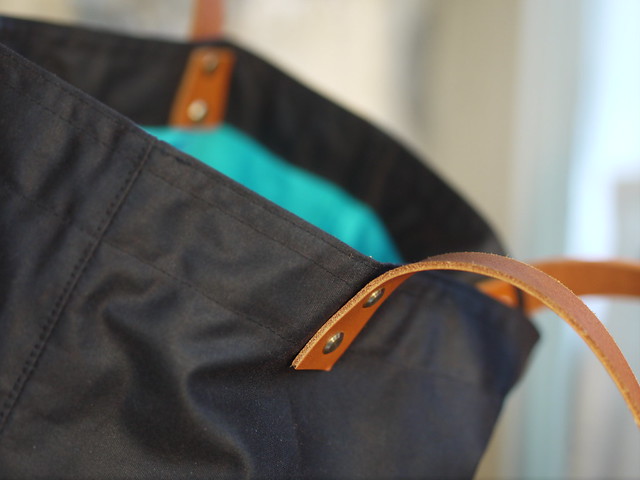
Inside this bag I tried hard to stick to a plain lining, but a tiny piece of spotted cotton sneaked in. The rest is Kona sage and kale.
Each strap end is attached with two rivets, which have to also pass through a second piece of leather due to their length.  This also makes the attachment stronger, since it's very unlikely that the rivet head will pull through the leather from either side - leather doesn't "give" much, whereas fabric does.  I had to make holes in the leather with a variety of large needles and scissor blades, as I didn't have a leather punch at the time.  I do now, and it's a lot easier! Buy one.

P1150660

It's hard to see in this photo, but I also put a small ticket-size pocket on the outside of the bag.  This is to save scrabbling in pockets etc when you quickly need your train or bus ticket.  I've already used this bag loads, it's my current favourite!

P1150668

Vicky xx

Wednesday, 30 November 2016

Another vinyl shopping bag

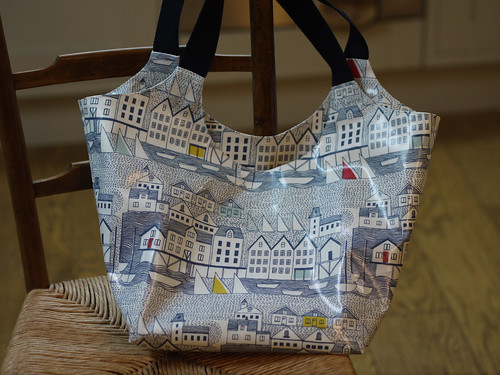
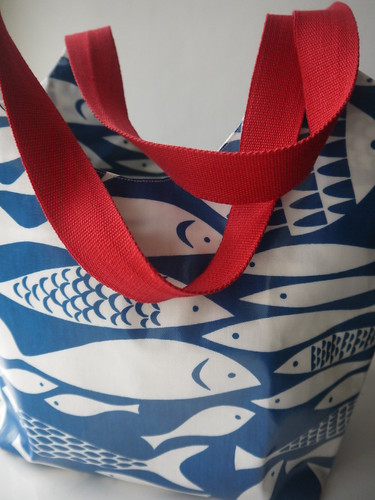
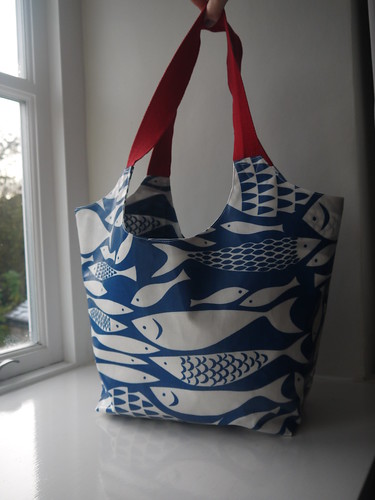
Using the same pattern I drafted for this bag, I made one for my sister as a birthday present.  It was lucky I knew from the start that this one wasn't for me, or I would have had a hard time giving it away!  Fortunately there was a bit of vinyl left over so I can make something for myself too.

P1150326

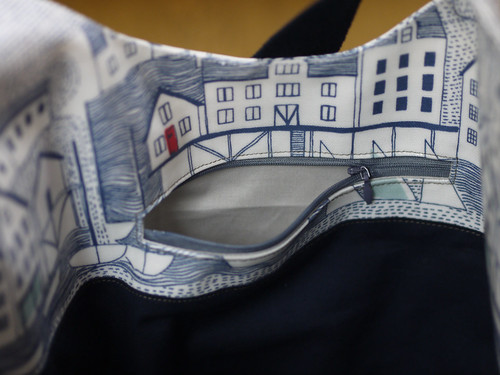
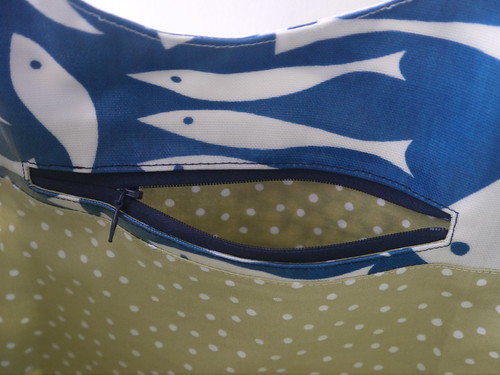
She requested a navy lining and navy handles, which go really well with the vinyl (which is from John Lewis).  Inside is the usual zipped pocket for your phone, chocolate (!) etc.

P1150333

These bags are the perfect size for your swimming kit, or a trip to the shops, or your packed lunch and a book to read at the park...whatever you want!

P1150337

I fancy trying one in dark waxed cotton (I have some brown), with leather handles and a really, really bright lining - maybe patchwork!

P1150339

With the leftover vinyl I'm planning to make myself another zippy pouch (or two!).
Vicky xx

Sunday, 19 June 2016

Pegs, pegged

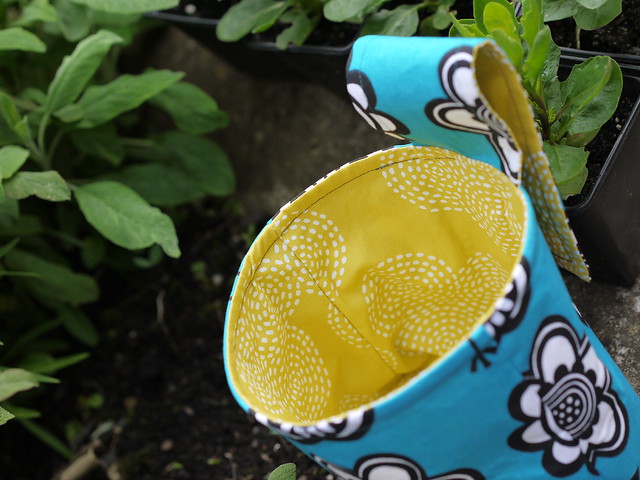
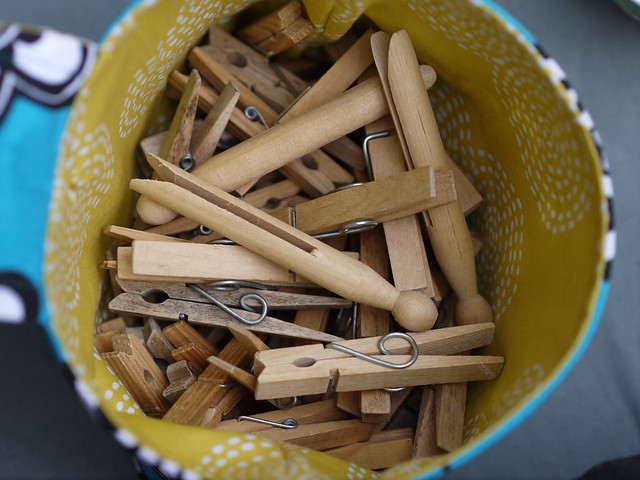
This is something I've been meaning to make for about a year - a new peg bag for the washing line.

P1130069

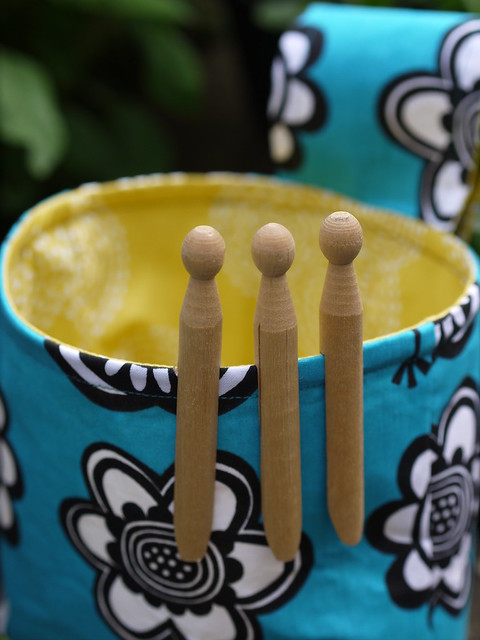
I wanted one that was much easier to get the pegs out of than my current "traditional" style bag - there are gazillions of peg bag tutorials out there though, so it didn't take long to track down a bag I liked.

P1130070

This is the tutorial I used, from Sew Mama Sew.

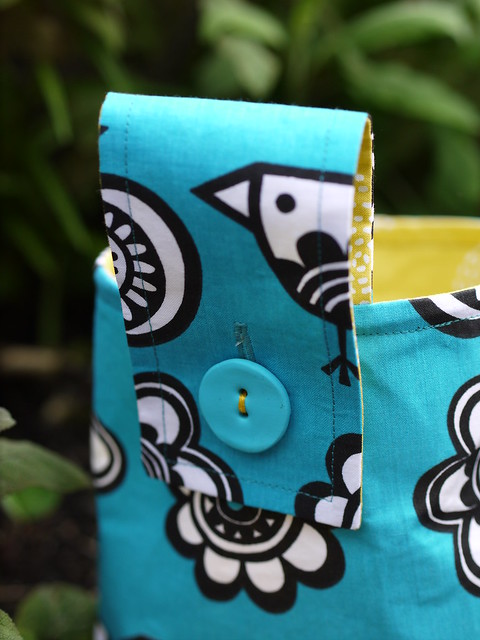
At the back there's a buttoned tab to let the bag be hung on the line, but because I added wire to the top hem of mine it will also stand up by itself on a nearby table or seat.  The wire is stiff, stainless steel garden wire; I threaded it through the top seam and folded the ends back.

P1130067

I've had to wait to try it out, as our washing machine developed a terminal fault! Now we have a new one, and some good drying weather coming later this week.

P1130076


Hope you are enjoying some sunny weather too! Vicky xx

Thursday, 26 November 2015

Coated cotton tote bag

Back to bags! I've made myself a new swimming bag, with coated cotton (vinyl cotton) from John Lewis.  I got this fabric back in March, but kept putting off cutting it up in case the bag didn't turn out how I imagined it.

P1110806

However, all is well and I'm really pleased with this bag!  Inside there is a zipped pocket - tricky to do in the vinyl, so I used strips of Bondaweb to hold the opening quite flat while I stitched in the zip.  You can see my zipped pocket tutorial here.

P1110801

In the picture above you can also see there's a vinyl facing above the cotton lining.  I'm hoping that will stop the bag soaking up too much water when I grab it from the locker with wet hands!

P1110797

Somehow the bag looks smaller in these pictures than in real life. There's plenty of room for a big towel and all the other bits you need when you go swimming, but the bag is not too enormous to carry over your shoulder.  I need to write up how I made this one (before I forgot) so I can whip up some Christmas presents!

Vicky x

Tuesday, 3 November 2015

Second trail tote

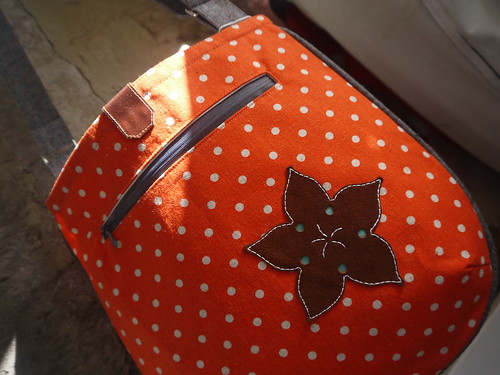
Following my birdy trail tote, here's one with a leather flower - a commission in orange spotty linen.  The pattern is by Noodlehead (and it's free! here)

P1110456

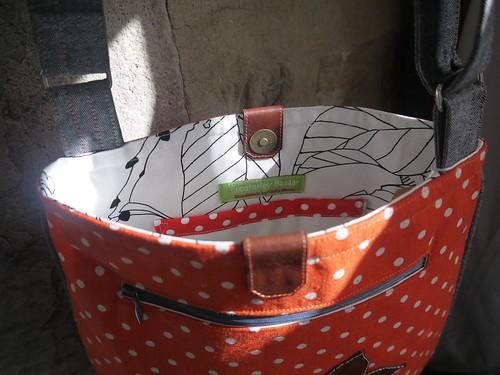
This one's the same size as my blue birdy one (that's medium, which isn't in the pattern).  It has grey piping, and a grey strap, and leather details - an applique flower and tabs for the magnetic snap.

Inside, the lining is an Ikea furnishing fabric.

P1110454

As before I used the suede-y back of the leather for the flower.  I tried to machine stitch it on but got lots of skipped stitches, so went back to hand sewing - need to work on this as machine stitching would be so much quicker.


The recipient was very pleased with her bag, so a success all round.  I've made lots of things lately that haven't got blogged, so there will be more posts very soon!

Vicky xx

Saturday, 26 September 2015

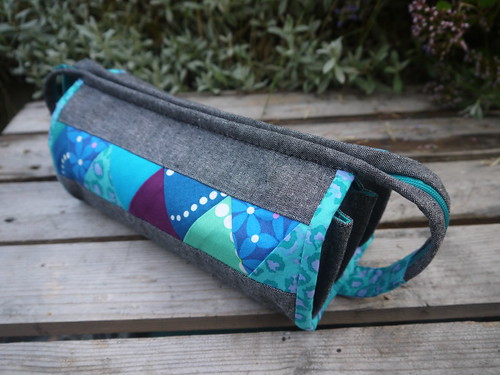
Sew Together bags numbers 2 and 3

This pattern turned out to be a good investment!

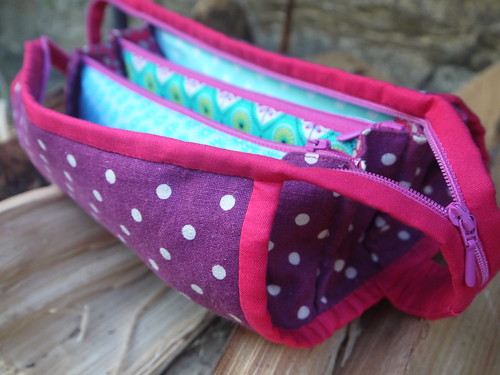
After I made my daughter a ST bag for her birthday in pink and purple (#2)....

P1110434

Her cousin asked for one with green in it, for back to school this September (#3)...

P1110340

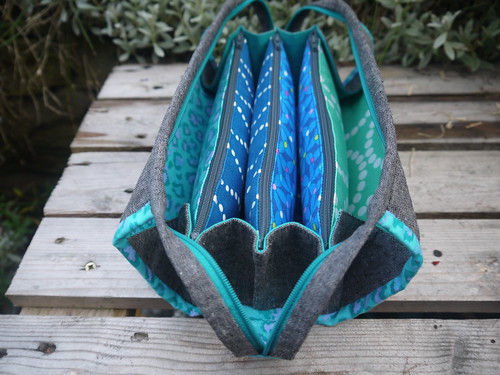
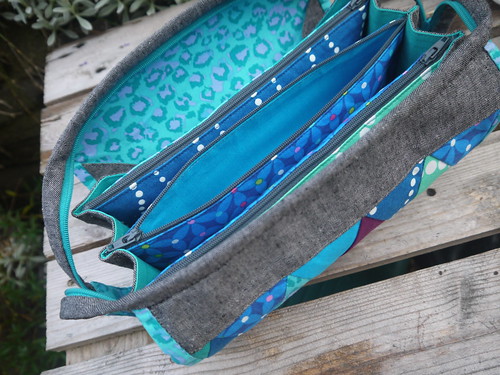
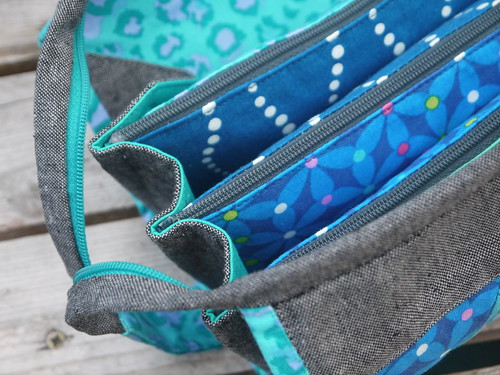
For the exterior I used Essex Linen in charcoal (I prefer the black though), and inside a variety of blues and greens, with grey zips

P1110344

My favourite is the turquoise leopard print!

P1110339


P1110338

Apparently there's a fourth one of these bags to be made now, for Thomas! Well, it is his birthday in November so I reckon I can get that made in time.

P1110438

Check back soon for ST#4!

Vicky xx

Sunday, 26 July 2015

Trail tote

Yesterday I finished making a bag using Noodlehead's Trail Tote pattern (this pattern is free - download it here).  The download has small and large sizes - so I made my own medium size.


 This bag was nearly finished a week ago, until I decided what it really needed was a bird on the front, and the bird was going to be leather.  Don't ask me where that came from!  I bought a bag of leather scraps and did some experimental sewing.


I hand-stitched the bird on, but next time I think I would machine sew (as long as the leather wasn't too thick) as it's hard to get the stitches neat by hand.  I used the reverse, suede-like side of the leather for this.


Once the bird was done, I thought a finishing touch with a bit more leather was in order.  I chose a slightly thicker scrap from the bag and cut two strips to fold over the top edge, where the magnetic catch goes.  Although these look like they're stitched on, they're glued.  I stitched around the edges (by machine), then put the magnetic snap through the leather and through the complete thickness of the bag.  Then I glued each tab down on the outside.


I highly recommend this pattern (and Noodlehead in general!).  My fabric was thick cotton, with thick interfacing.  The lining is quilting cotton.


Happy summer! x

Friday, 1 May 2015

Zip top purse on Village Habby blog

Today is the first time I've had something I made featured on another blog - in this case, The Daily Stitch which is the blog of the Village Haberdashery in London, run by Annie Barker.

Featured is a zip-top purse I recently designed, shown here made with Essex Linen and other yummy fabrics which Annie sent me for this project:


Particular features to note are the wide opening at the top, and TWO pockets inside!!  One slip pocket, one zip pocket.


You can customise the exterior however you want, and even change the inside pockets around to suit whatever purpose you have in mind.


You can find the tutorial here - zip top purse tutorial.  If you have any questions or comments, do get in touch - I'd love to see what you make!

Vicky x

Wednesday, 26 November 2014

Tu-whit tu-whoo!

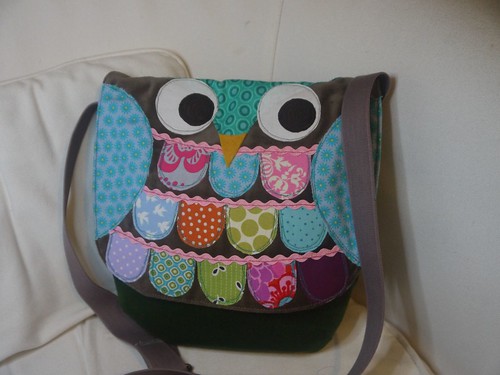
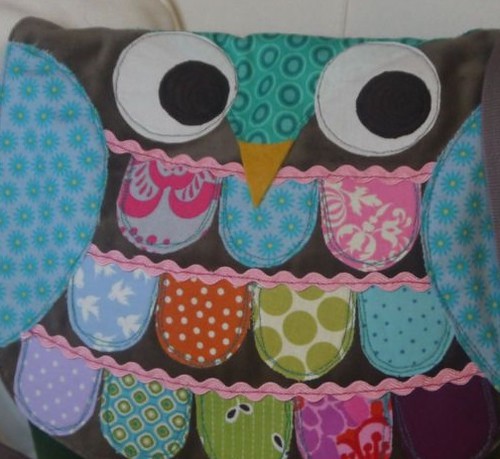
How about this bag with an owl looking after the front?

P1060403.JPG

I sewed this one up just before I was taking my bags and purses to a Christmas sale, using Noodlehead's (free!!) trail tote pattern for Robert Kaufman.  I'd had the idea of a bag with an owl on the front flap for ages, then I saw this round-based bag pattern and thought it would work really well.

P1060408.JPG

Of course, the Noodlehead pattern doesn't have a front flap, so I made my own pattern piece for that.  I also missed out the piping as I was working with velvet and fleecy interlining, so had enough bulk to contend with already! When I make the pattern with lighter weight fabric, I'll definitely use piping because it gives such a lovely finish.

P1060407.JPG

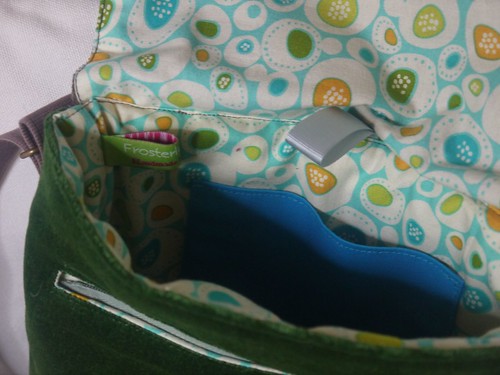
I also did something different to sew my strap on than the pattern says.  I find it easier to stitch the strap to the outside seams of a bag, before the lining goes in - that way, there are fewer layers to get the machine to stitch through when you go around the top edge.  Also, when you open the bag the strap then falls away from the opening.

owl

Finally, instead of using a magnetic snap to close the bag (I didn't have one handy), I added a small ribbon loop in the back seam with a big popper on.  That means the bag can be closed without the owl on the lid being pulled out of shape - it can just hang around being an owl!

Sunday, 23 November 2014

Sew Together bag

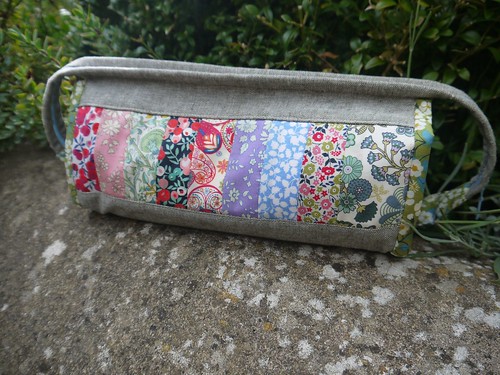
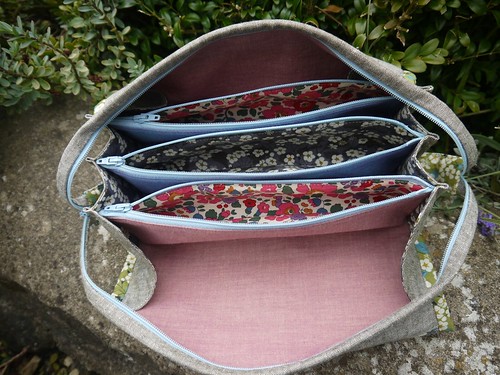
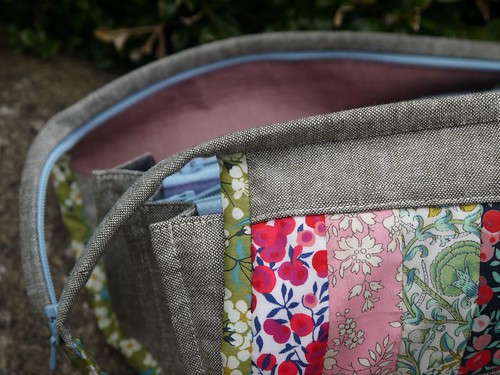
I really *heart* this bag! It's a great pattern, and works really well.  I chose linen for my bag outer, with some Liberty lawn scraps on the front, Liberty lawn binding, and for the inside pockets I've used a mixture of Kaffe Fasset shot cottons and more Liberty lawn.

P1060049.JPG

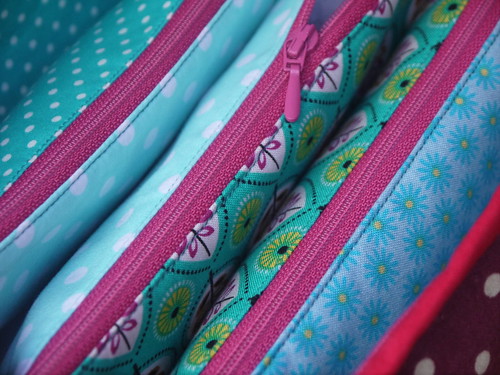
The pattern does use a lot of zips, but to great effect.  If you're not sure about sewing zips in when you start, you will be by the end of this!  I really liked how the bag turns into a round-shaped thing when it's finished, even though it only uses straight seams, and the extra-long top zip lets the bag open really wide.

P1060059.JPG

I chose to stitch the second edge of my binding down by hand, as I wasn't sure I could do it completely neatly by machine.

P1060063.JPG

To me this bag turned out perfectly.  Liberty lawn makes anything look good, and mixed with linen it's divine!  Try some today!

Friday, 14 March 2014

Simple zipped inner pocket tutorial

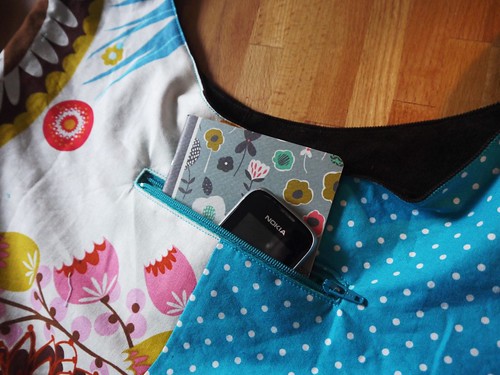
For ages I made bags with inner pockets that were just patches - a rectangle of fabric sewn onto the lining, sometimes with a popper to keep it closed. Then recently I discovered it's really pretty easy to make a hidden, zipped pocket! So I've written this tutorial to show you how to make a hidden zipped pocket - it's pretty straightforward, there are just eight steps.

You'll need to have your bag lining pieces ready to go (i.e. cut to size and shape), but preferably not sewn together yet, and definitely not sewn into the bag. If you're worried about how this pocket process might work out, I recommend trying it on some scrap fabric. You can always take the zip out when your practice version is done and use it again, especially if you set your stitch length to something quite long to make unpicking easier!
Here's a couple I've made recently...


P1040801


So if you'd like to add a neat, useful pocket to your next bag, read on!

1) What you need. You'll need a zip, and two pieces of fabric each about 12x14cm (but the size is entirely up to you!). Your zip needs to be at least 15cm long for a pocket big enough for something like a mobile phone or small notebook to fit in the pocket.


I've successfully used short zips I've "harvested" from old trousers and skirts that I'm upcycling (if you do this, just watch that you don't zip the zip pull off the end of the zip once it's out of the seam, as they don't always have a stop).

2) Mark pocket zip position. First you need to make a long, narrow 'window' in the bag's lining, with one of your pocket pieces attached behind. To do this, mark a line on the right side of your bag lining where you want the pocket zip to end up. Make it 2cm or more SHORTER than your zip. I recommend using a washable marker or chalk here. Note that in the photos for this tutorial my bag lining is already sewn along the top of my bag exterior, but is still open at the bottom so I can access the wrong side of it. Also, it's made of two different fabrics (a floral and a polka dot).


Transfer the line to the wrong side of the lining, and draw a box around it, on that wrong side, 1cm wide and 0.5cm longer at each end; this will be your stitching line. (In the picture below, the box is marked on the right side of my lining, but you do also need it on the wrong side).


3) Place first pocket piece. Flip the lining right side up. Lay one pocket piece, with right sides together, on the right side of the bag lining. Have the top edge of this piece only 2cm above the line you drew.  Pin in place around the edges. This photo shows the pocket piece being laid over the marked line and box:


4) Sew first pocket piece. Flip again, so lining is wrong side up and you can see the box you drew. Now sew around the box, keeping it as neat, straight and square as possible. I've sewn in red thread here so you can see exactly what's going on:


5) Cut the pocket opening. CUT (!!) neatly along the line in the centre, through both the bag lining and the pocket piece, extending the cut diagonally into the corners. Make very sure not to cut anything else that might be flapping around underneath your lining!


Here's the completed long cut and diagonal snips, from the other side:


6) Press your seam. Push the pocket piece through the cut, laying it flat on the wrong side of the bag lining. Press the seam into a neat fold, to leave a narrow window - this opening will hold your zip.


7) Sew zip into the opening. With the right side of the bag lining facing you, pin the zip in place behind the opening and baste into place, keeping the pressed edges 1cm apart along the whole length of the opening. Make sure the zip pull is visible within the opening!


Fit a zipper foot to your machine.Using small stitches and stitching slowly, sew all the way around the opening, being particularly careful to stitch straight (and not to break the needle!) at each end where you have to sew across the zip teeth. You may need to move the zip pull out of the way as you sew along the length of the zip.


If necessary, trim zip ends so there is no more than 2cm beyond the stitching at either end. Now you have a zipped opening in your bag lining, but behind it there's no pocket! We'll put that right next.

8) Attach second pocket piece. The last step is to attach the other pocket piece. With right sides together pin the second pocket piece to the one already attached to the bag lining.


Making sure not to catch the actual bag lining in the seam, stitch around all four sides of the pocket pieces with 1cm seam allowance. It's worth double-stitching the bottom pocket seam now, as getting in there to repair it once the bag is finished will be tricky.


8) Finished! You now have a hidden, zipped pocket in your bag lining! Finish your bag lining as per your pattern, and sew into your bag. Enjoy zipping and unzipping your pocket!
P1040801

Related Posts Plugin for WordPress, Blogger...