If you haven't done sashiko before, here's how I set out the grid on the fabric.
You'll need your fabric, a white dressmaking pencil, and a ruler (preferably a grid ruler, although an ordinary one would do if you don't already have a grid).
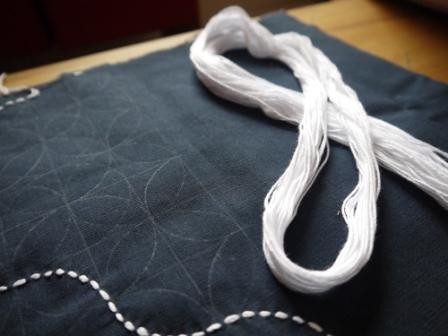
For the sashiko bag I used a 1" square grid, with 2" and 1.5" circle templates.
For the sashiko cushion I used rectangular grid - 3/4" horizontal spacing, 3/8" vertical spacing.
1. Wash and damp-press your fabric. Fabric with a medium weight, such as linen, seems to work best - avoid anything too light, such as quilting-weight cotton.
2. Once the fabric is really flat, cut the piece you'll work on - make it a couple of inches bigger all round than you want the final size to be, to allow for a bit of fraying and the final trimming. I would recommend starting with a fairly small project, maybe a 6" square sampler. Lay the fabric on a hard, flat surface (cutting mat is good).
3. Sharpen a white dressmakers pencil. Use it to draw a straight line about two inches from the bottom edge of your fabric; this is your baseline. Keep the pencil really sharp the whole time you are marking out your grid so that all your lines are fine.
4. Working upwards from each end of the baseline, make marks at 1" intervals (square grid) or 3/8" (rectangle grid). Avoid parallax errors by getting your eyes right above the bit of the ruler you're using! Join these marks to make a series of lines parallel with the baseline.
5. Draw a vertical line about two inches from the left side edge of your fabric, making sure it forms right angles with the horizontal lines you've just completed, and crossing the ends of the horizontal lines. This is where having a grid ruler really helps, as you can easily make sure all your vertical lines fall at right angles to the horizontal ones.
6. Working to the right, make marks on the baseline and the topmost line at 1" intervals (square grid) or 3/4" intervals (rectangle grid). Again, be sure these are exactly spaced. Join the marks (you may need to turn your fabric through 90 degrees) to form your grid.
7. Your grid is done. You'll now need to mark on the pattern you're going to stitch, for example using circle templates or marking diagonals for a hexagon-based design. I'll try and cover some simple patterns in another tutorial soon!
No comments:
Post a Comment