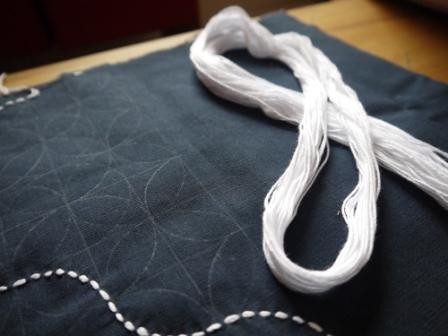
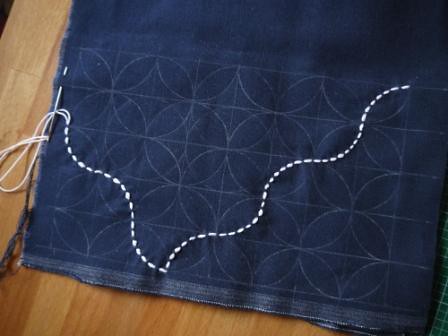
To start with you need to mark out a really accurate grid on your fabric. I used a sharp white fabric crayon and a quilting ruler. As I was doing a pattern based on circles, I also cut cardboard templates to mark these out with. On the first side I used a pattern called Blue Ocean Waves - all the patterns have Japanese names but I can't pronounce them, so I'm sticking with the translations.
You can see it's a bit wrinkly, even after pressing, but it is the first attempt! For the other side of the bag I used a pattern called Seven Treasures (and I took more photos this time). Here's the pattern marked out (spot the deliberate mistake) and stitching just begun.

The stitching on this pattern is completed in diagonal lines, which seems to help with getting the circles to look really circular. This time I've managed to keep the fabric a lot flatter, and the stitches more even. The thread is used double (no dropped needles!), which makes the stitches look like little grains of rice on the fabric. So simple, but really effective.

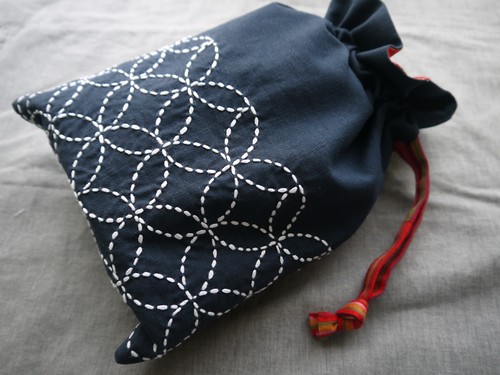
With both pieces of Sashiko complete I gave them a good press and made up into a lined bag with some red striped fabric I've had for ages. It seemed to go really nicely with the linen, as the stripes are woven rather than printed - it reminds me of Indian cotton.
To make the bag, I more or less used Jenny's tutorial (http://www.incolororder.com/), but I didn't box the bottom corners as that would spoil the embroidery in this case. Here's my finished bag!


I'm really happy with how this turned out - not perfect, but looks very nice. And so I've already started my next sashiko project, which is a cushion. Different patterns this time, I'll show you when it's done!

No comments:
Post a Comment