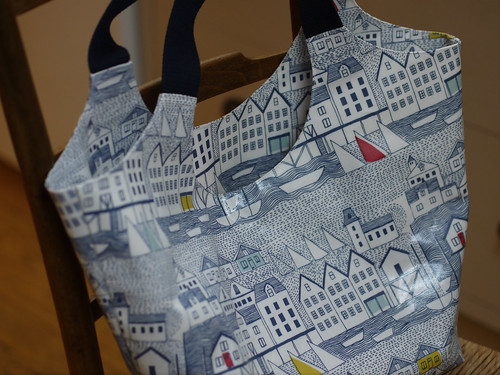
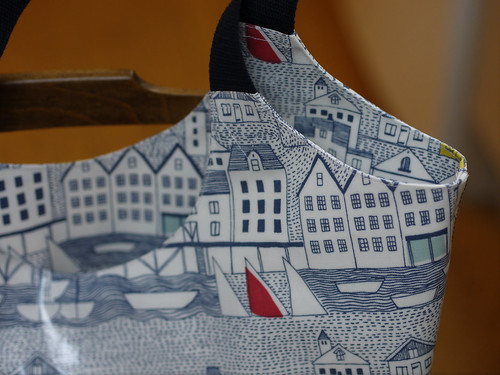
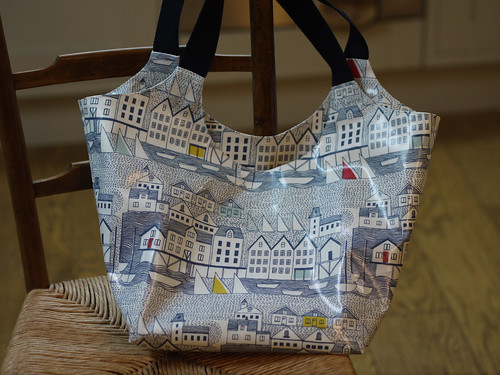
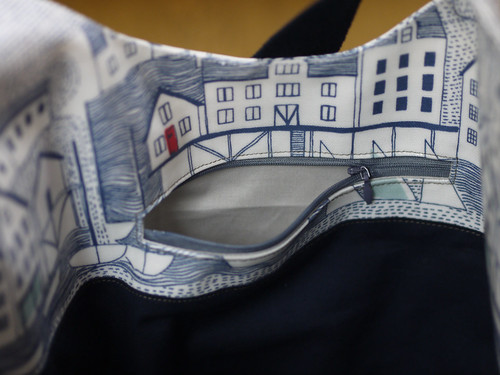
Using the same pattern I drafted for this bag, I made one for my sister as a birthday present. It was lucky I knew from the start that this one wasn't for me, or I would have had a hard time giving it away! Fortunately there was a bit of vinyl left over so I can make something for myself too.
She requested a navy lining and navy handles, which go really well with the vinyl (which is from John Lewis). Inside is the usual zipped pocket for your phone, chocolate (!) etc.
These bags are the perfect size for your swimming kit, or a trip to the shops, or your packed lunch and a book to read at the park...whatever you want!
I fancy trying one in dark waxed cotton (I have some brown), with leather handles and a really, really bright lining - maybe patchwork!
With the leftover vinyl I'm planning to make myself another zippy pouch (or two!).
Vicky xx
Pages
Search This Blog
Wednesday, 30 November 2016
Friday, 25 November 2016
Mike's next chair
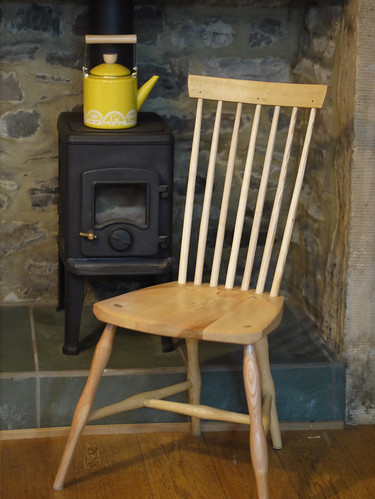
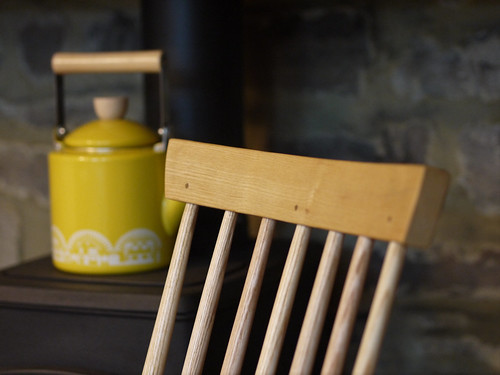
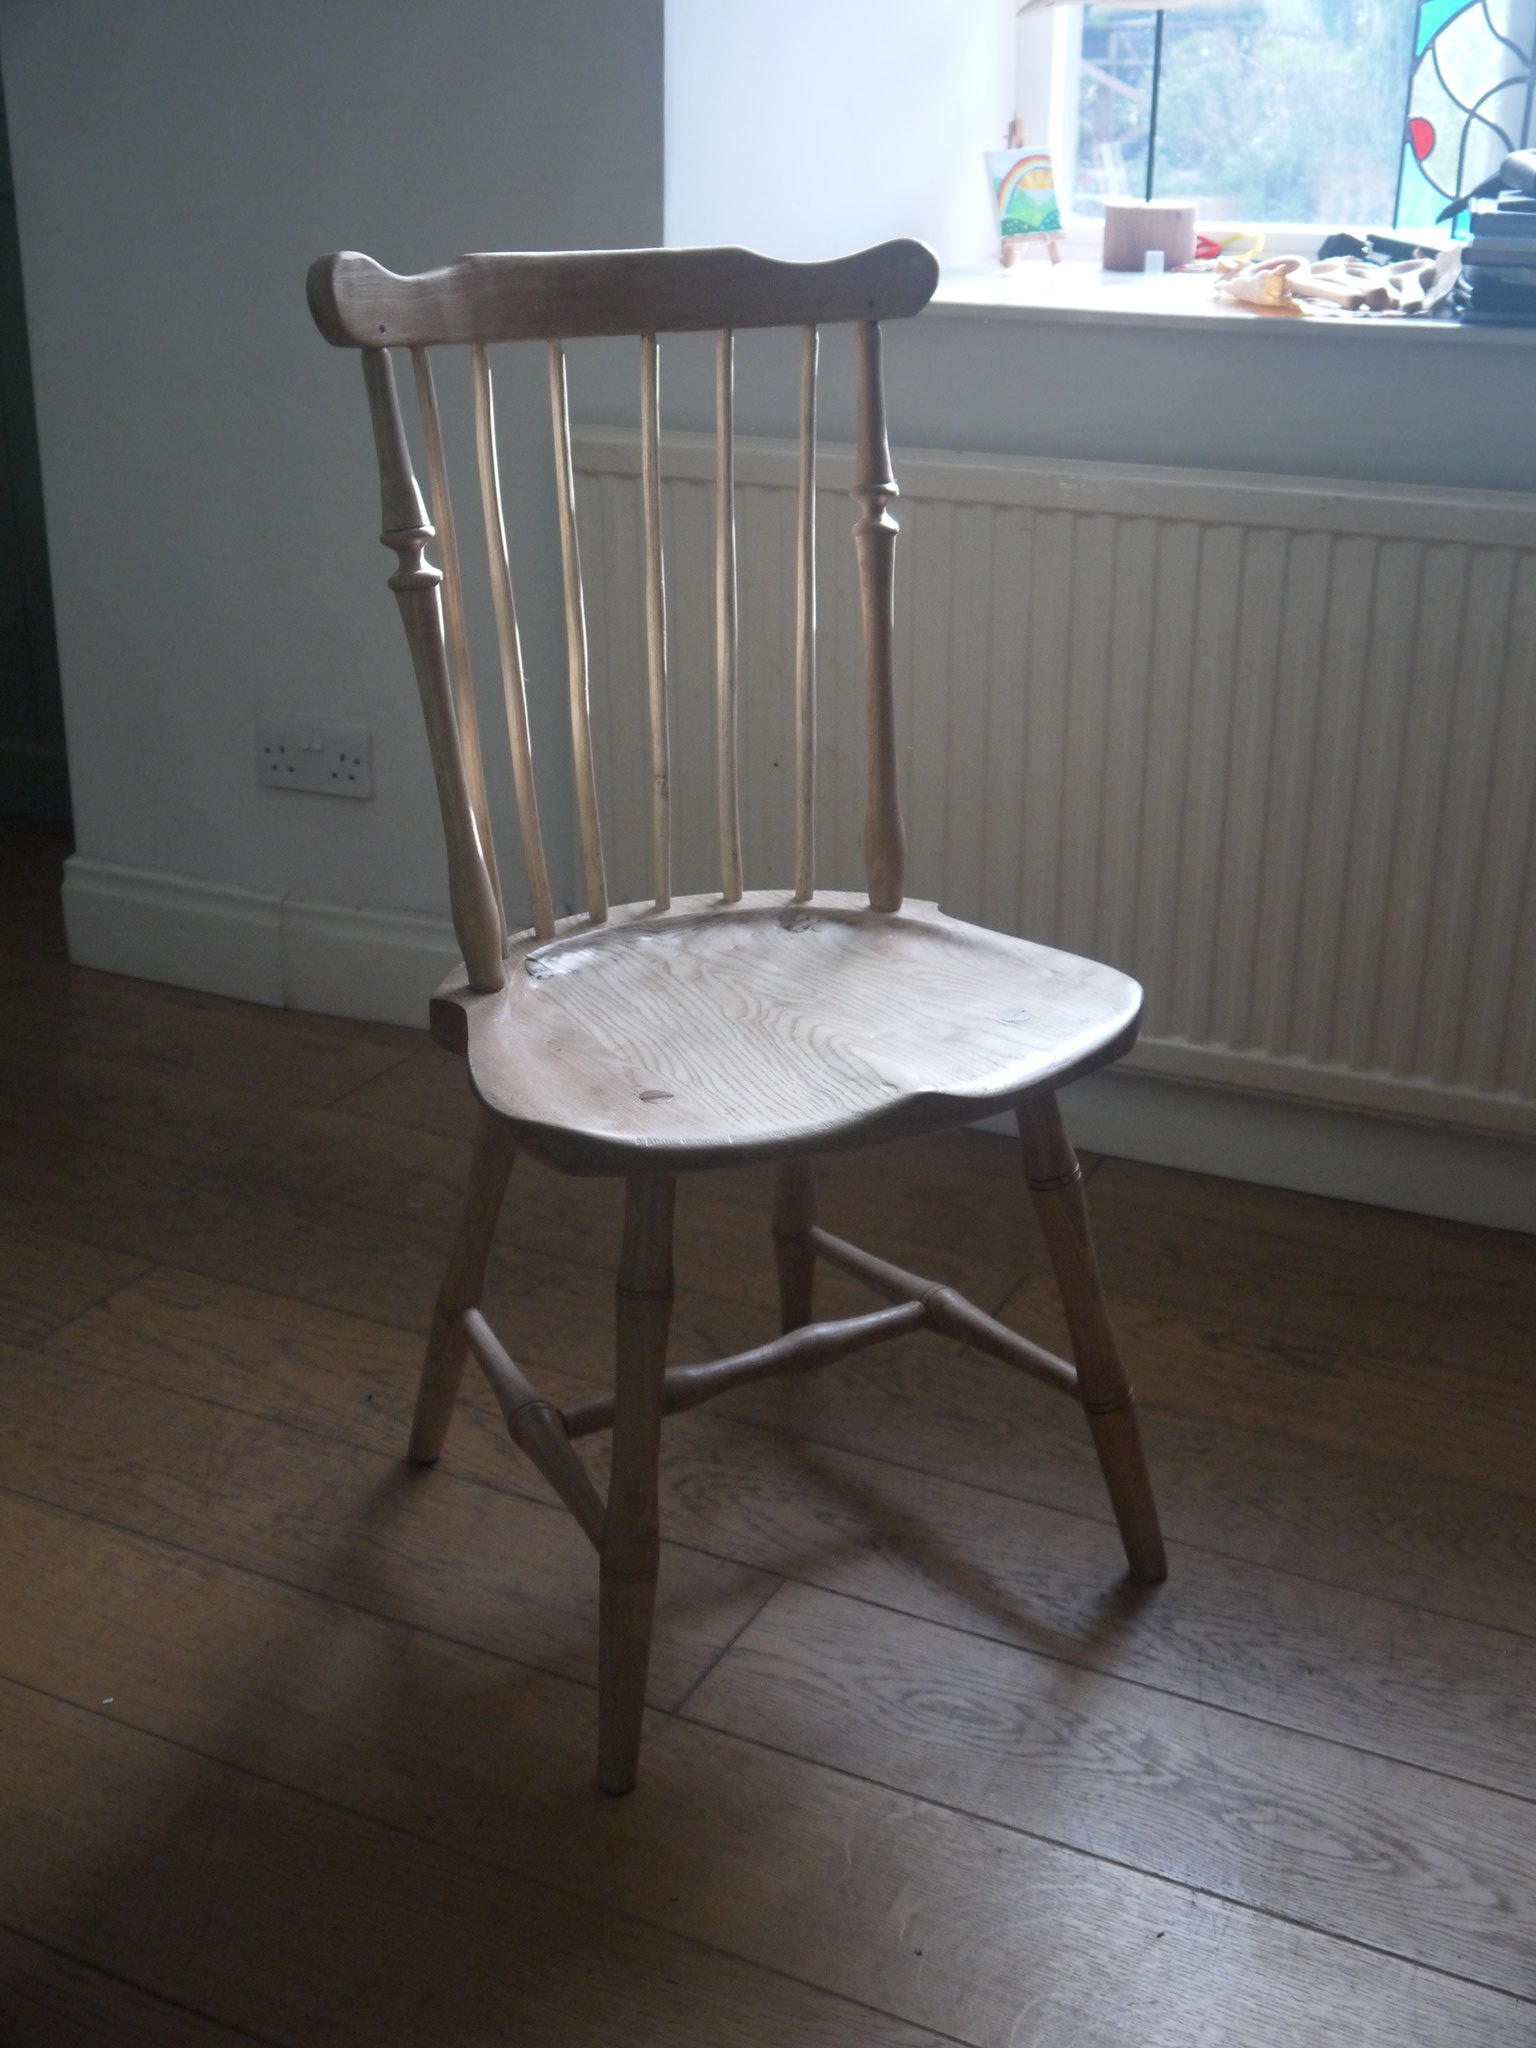
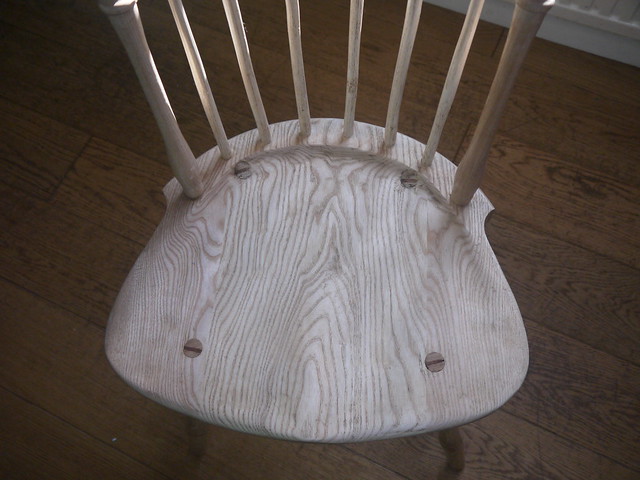
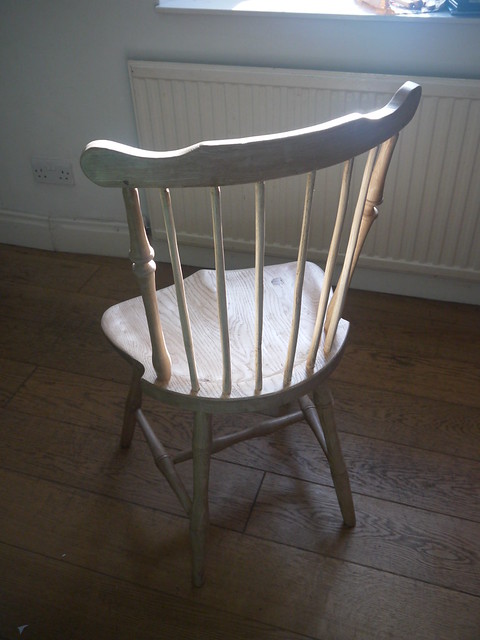
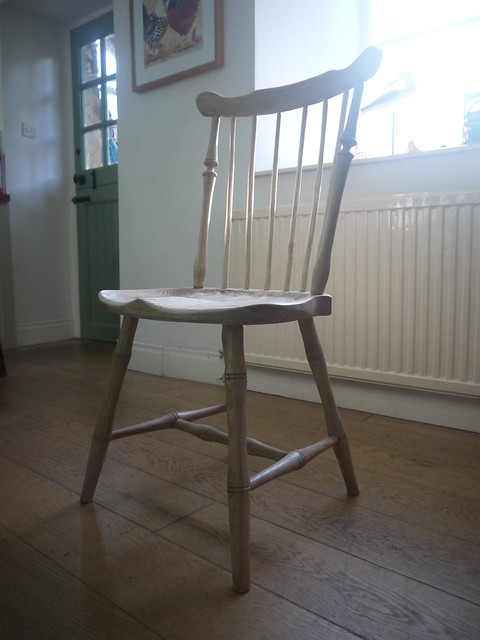
I love this! Mike has made a second dining chair, a lovely modern design:
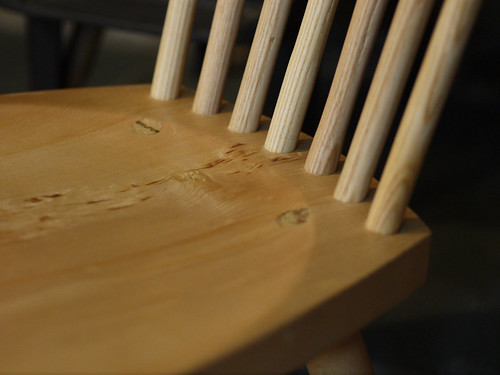
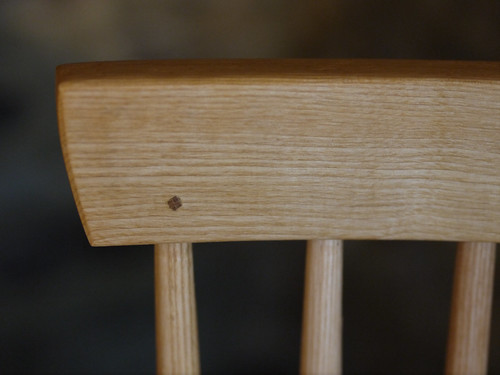
Like the first one (here), this one is made from ash. The back spindles and legs are turned by hand on a lathe
and the crest steam bent, then shaped by hand:
To me it seems to go particularly well with the yellow kettle we keep on the stove!
I'm hoping there might be a set of these along sometime soon...
Vicky xx
Star or snowflake?
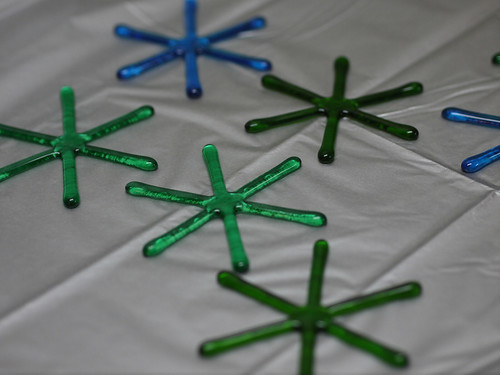
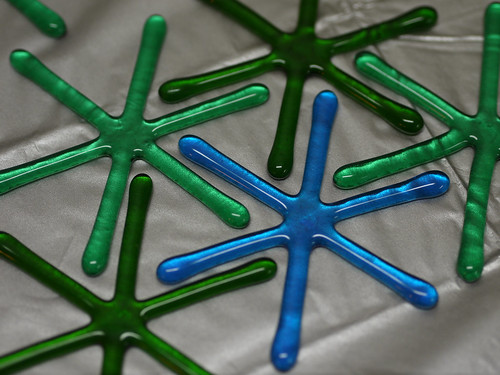
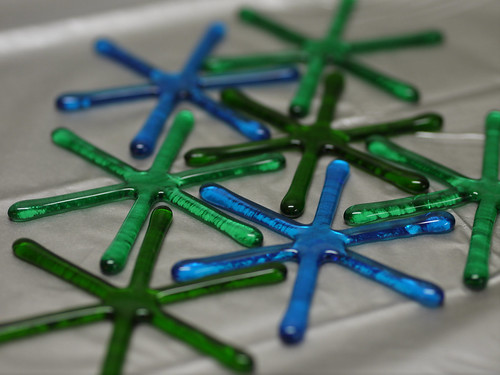
I recently became the owner of a glass kiln - a Skutt Firebox 8. It can do amazing things to glass, one of which is to turn glass rods into these lovely decorations. But: are these stars, or snowflakes?
At first I thought they would be stars, but now I think they're snowflakes, especially the pale green and blue ones. Each one is made from pieces of 6mm diameter Bullseye glass rod (buy it here) and fired for six hours in the kiln.
Getting the glass to fuse together took a bit of experimenting, but eventually I got the design and the kiln programme right, and by Christmas I should have enough for some special glass presents!
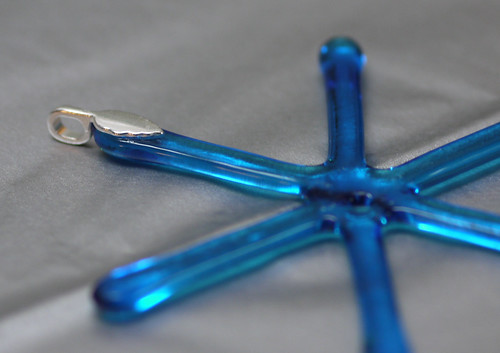
To hang them, each will have a silver bail:
More adventures with glass coming soon - I can also use the kiln to fire special glass paint, to add detail to stained glass pieces!
Sunday, 19 June 2016
Pegs, pegged
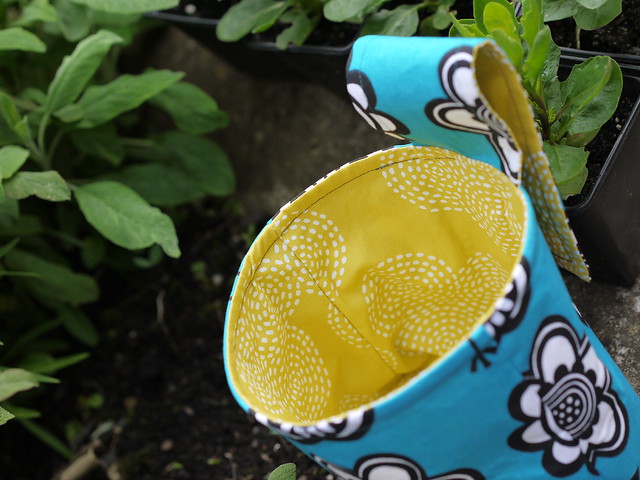
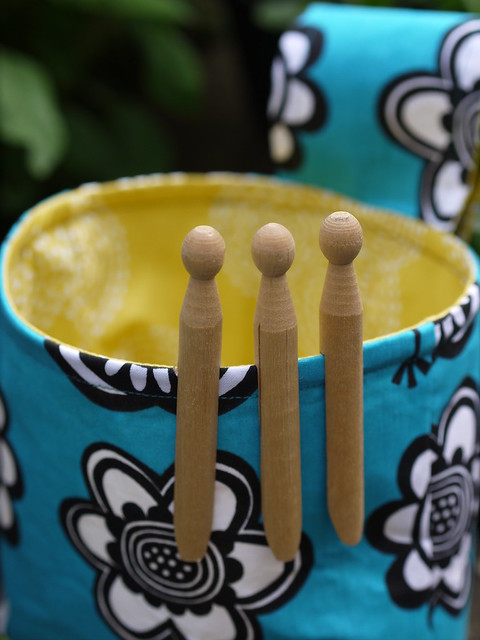
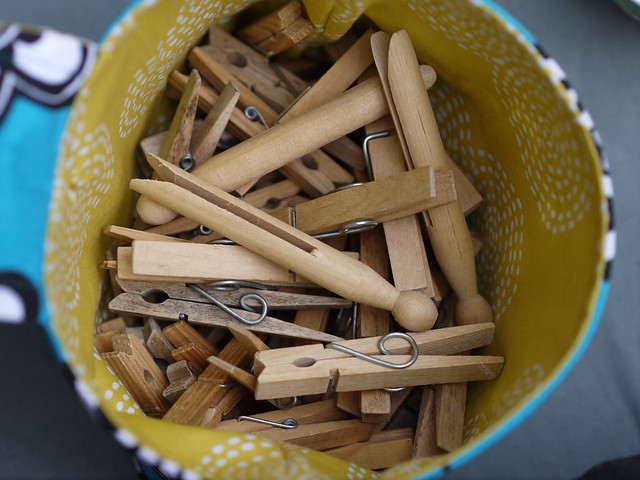
This is something I've been meaning to make for about a year - a new peg bag for the washing line.
I wanted one that was much easier to get the pegs out of than my current "traditional" style bag - there are gazillions of peg bag tutorials out there though, so it didn't take long to track down a bag I liked.
This is the tutorial I used, from Sew Mama Sew.
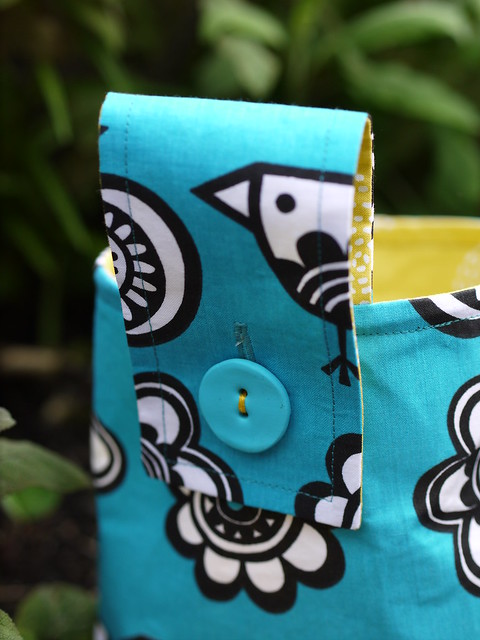
At the back there's a buttoned tab to let the bag be hung on the line, but because I added wire to the top hem of mine it will also stand up by itself on a nearby table or seat. The wire is stiff, stainless steel garden wire; I threaded it through the top seam and folded the ends back.
I've had to wait to try it out, as our washing machine developed a terminal fault! Now we have a new one, and some good drying weather coming later this week.
Hope you are enjoying some sunny weather too! Vicky xx
Friday, 10 June 2016
Stripy socks
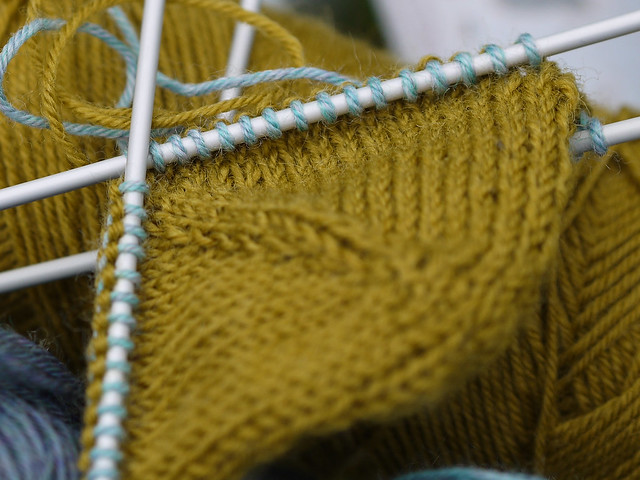
A few days ago, I started some sock knitting - just for something to do while camping up in Fife, as I hadn't taken anything with me.
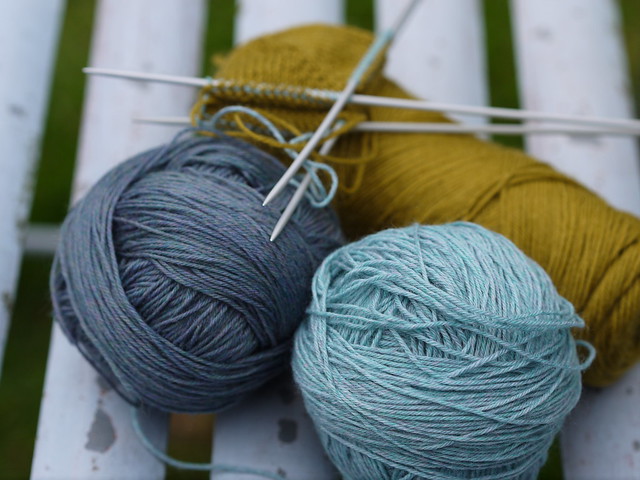
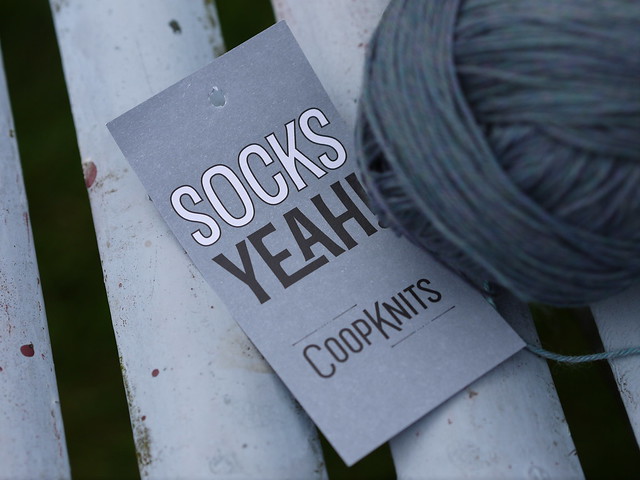
I bought Coop knits sock wool in two colours, and Jawool in a mustardy colour, and borrowed some needles (thankyou Katherine). I'm using the Artesano Wuru free sock pattern, which starts at the toe - find it here!
To start with, I had to learn how to do a closed toe cast on (there's plenty of advice on this from Mr Google). My sock toes, heels and cuffs will be mustard-colour, with two-colour, two-row stripes in between.
Above, I've just started knitting the blue stripes after the toe!
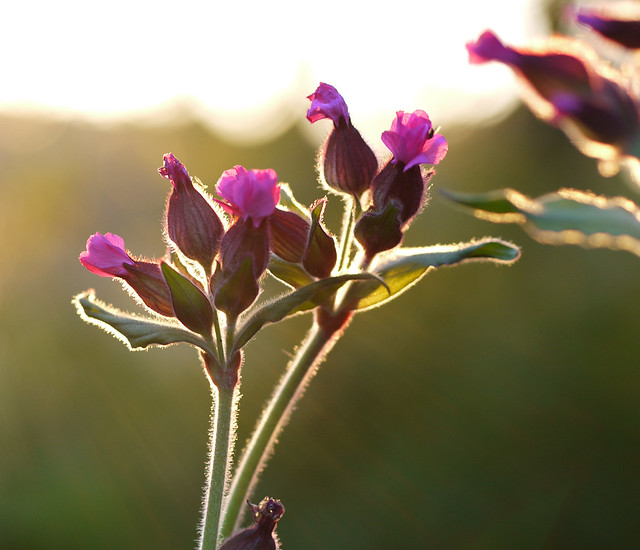
And below, is a beautiful red campion which was growing by our tent - June is "30 days wild" month, run by the British Wildlife Trusts. They challenge you to do something wild every day in June! Sign up here.
Go wild!
Sock update soon,
Vicky xx
Friday, 20 May 2016
Spool birds
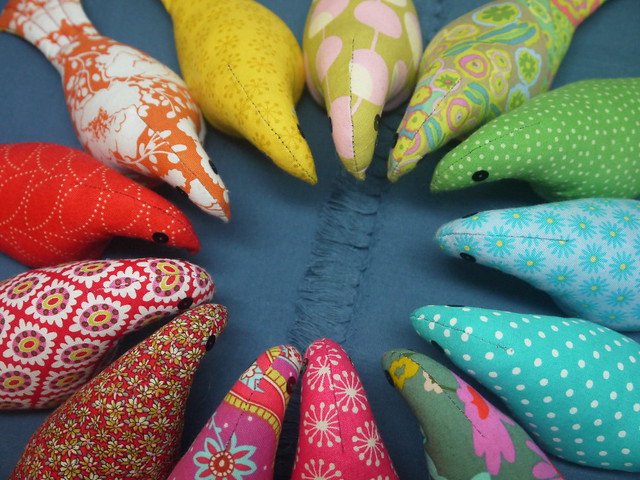
I'm a bit late to this party, but better late than never. The spool bird pattern has apparently been all over the internet for ages; well I only just discovered it, and I love it! You can find the pattern here, but this is only one place you can download it from.
It's a very straightforward gusset pattern - cut out the two shapes (the body on a fold), stitch together (three seams), stuff and sew the tail closed. I glued on eyes too, and quilted the tails.
I made lots of different colour birds and as soon as Kitty spotted them she informed me that she needed some for her room. So here they are, perched on a twig I picked up outside
and here are all the others, looking a very bright and cheerful flock! Most of them are brightening up my desk now.
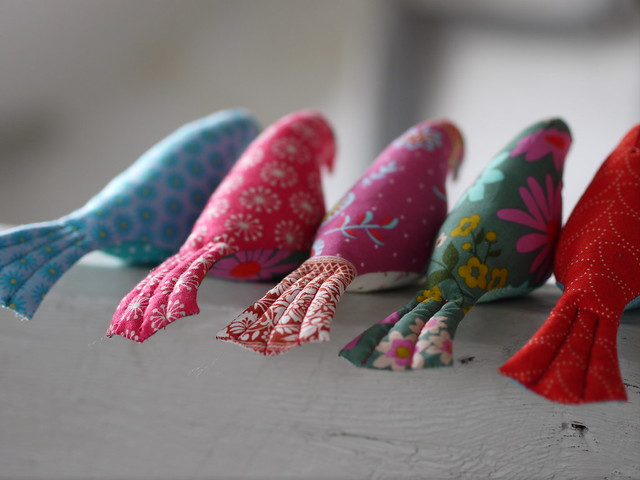
This picture shows off their lovely tails...
Back soon with more sewing (or possibly knitting, as I have some socks on the go).
Vicky xx
Thursday, 11 February 2016
Handmade Windsor chair
Today's is a guest post!
Actually, it's written by me, but it features something made by my husband. He has been making a Windsor chair, which is at our dining room table and is really beautiful - here it is!
All of this chair is made of ash (Fraxinus), a wood traditionally used for furniture because of its strength, lightness and fine grain.
The seat is shaped using a bandsaw, then contoured with hand and power tools. Drilling the holes for the angled legs and back spindles caused a little light swearing!
The back crest is made from a flat piece of wood, steamed and bent around a former. Curving it like this makes the chair very comfy. The upright back spindles are shaved from cleft green ash, giving them a lovely light appearance.
Mike's plan is to make these chairs to order, and the first ones should be available later this year (2016). Do get in touch if you're interested!
Vicky xx
Thursday, 21 January 2016
Linen and Liberty
Not a new combination, I expect, but one I think really works. Liberty lawn is probably my favourite sort of fabric!
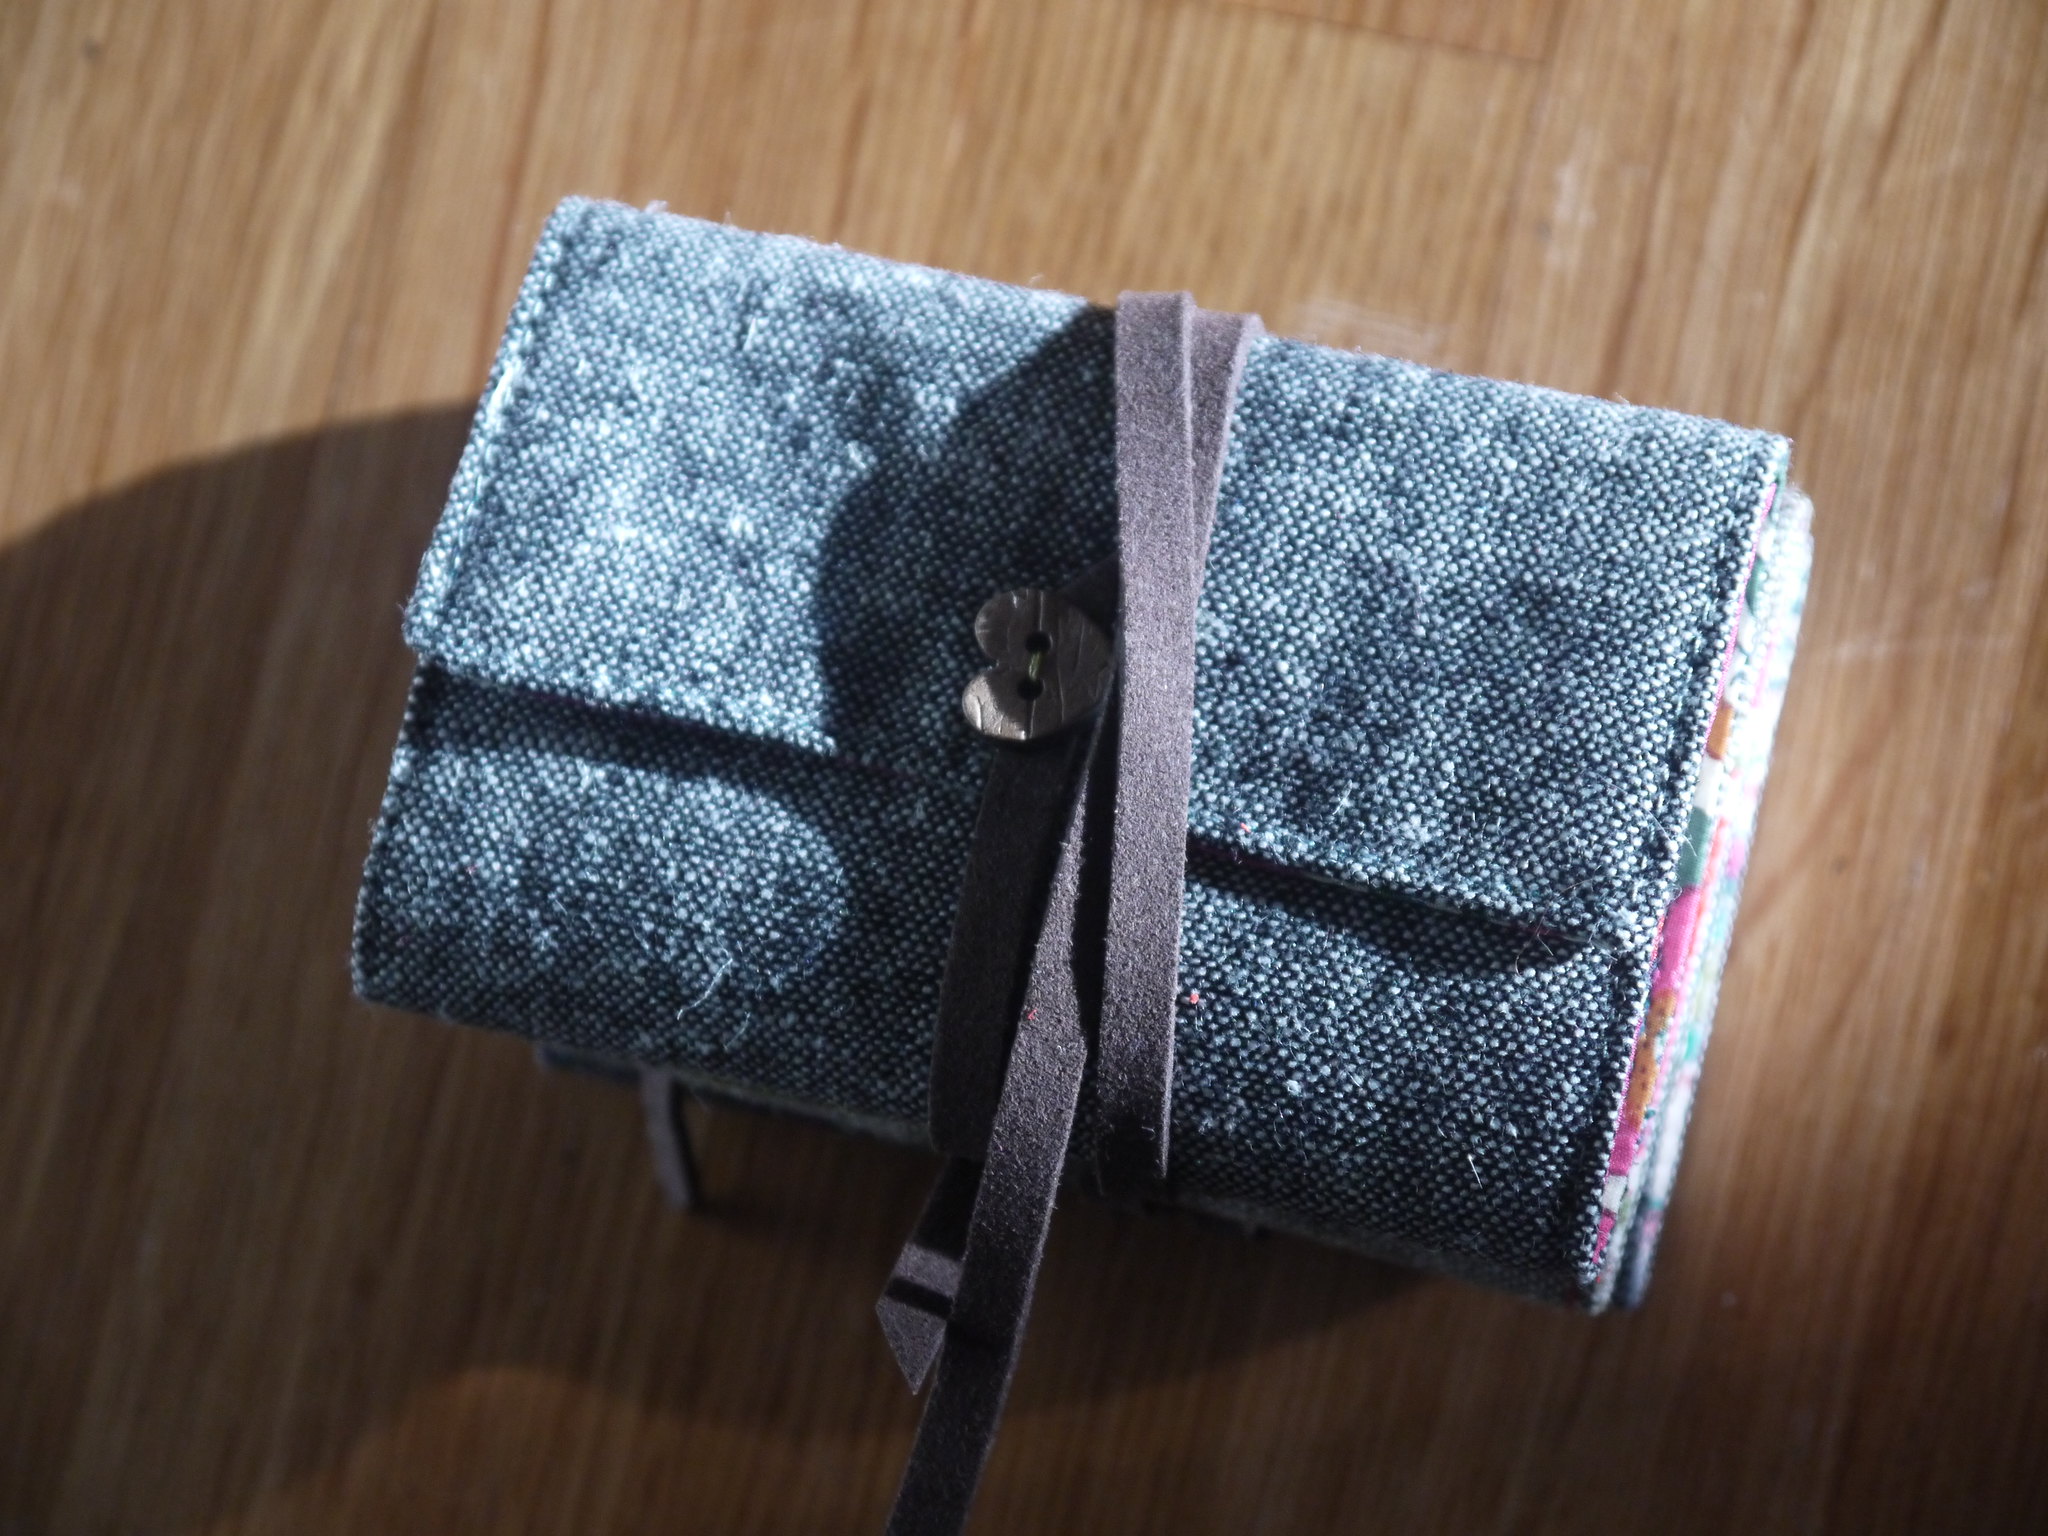
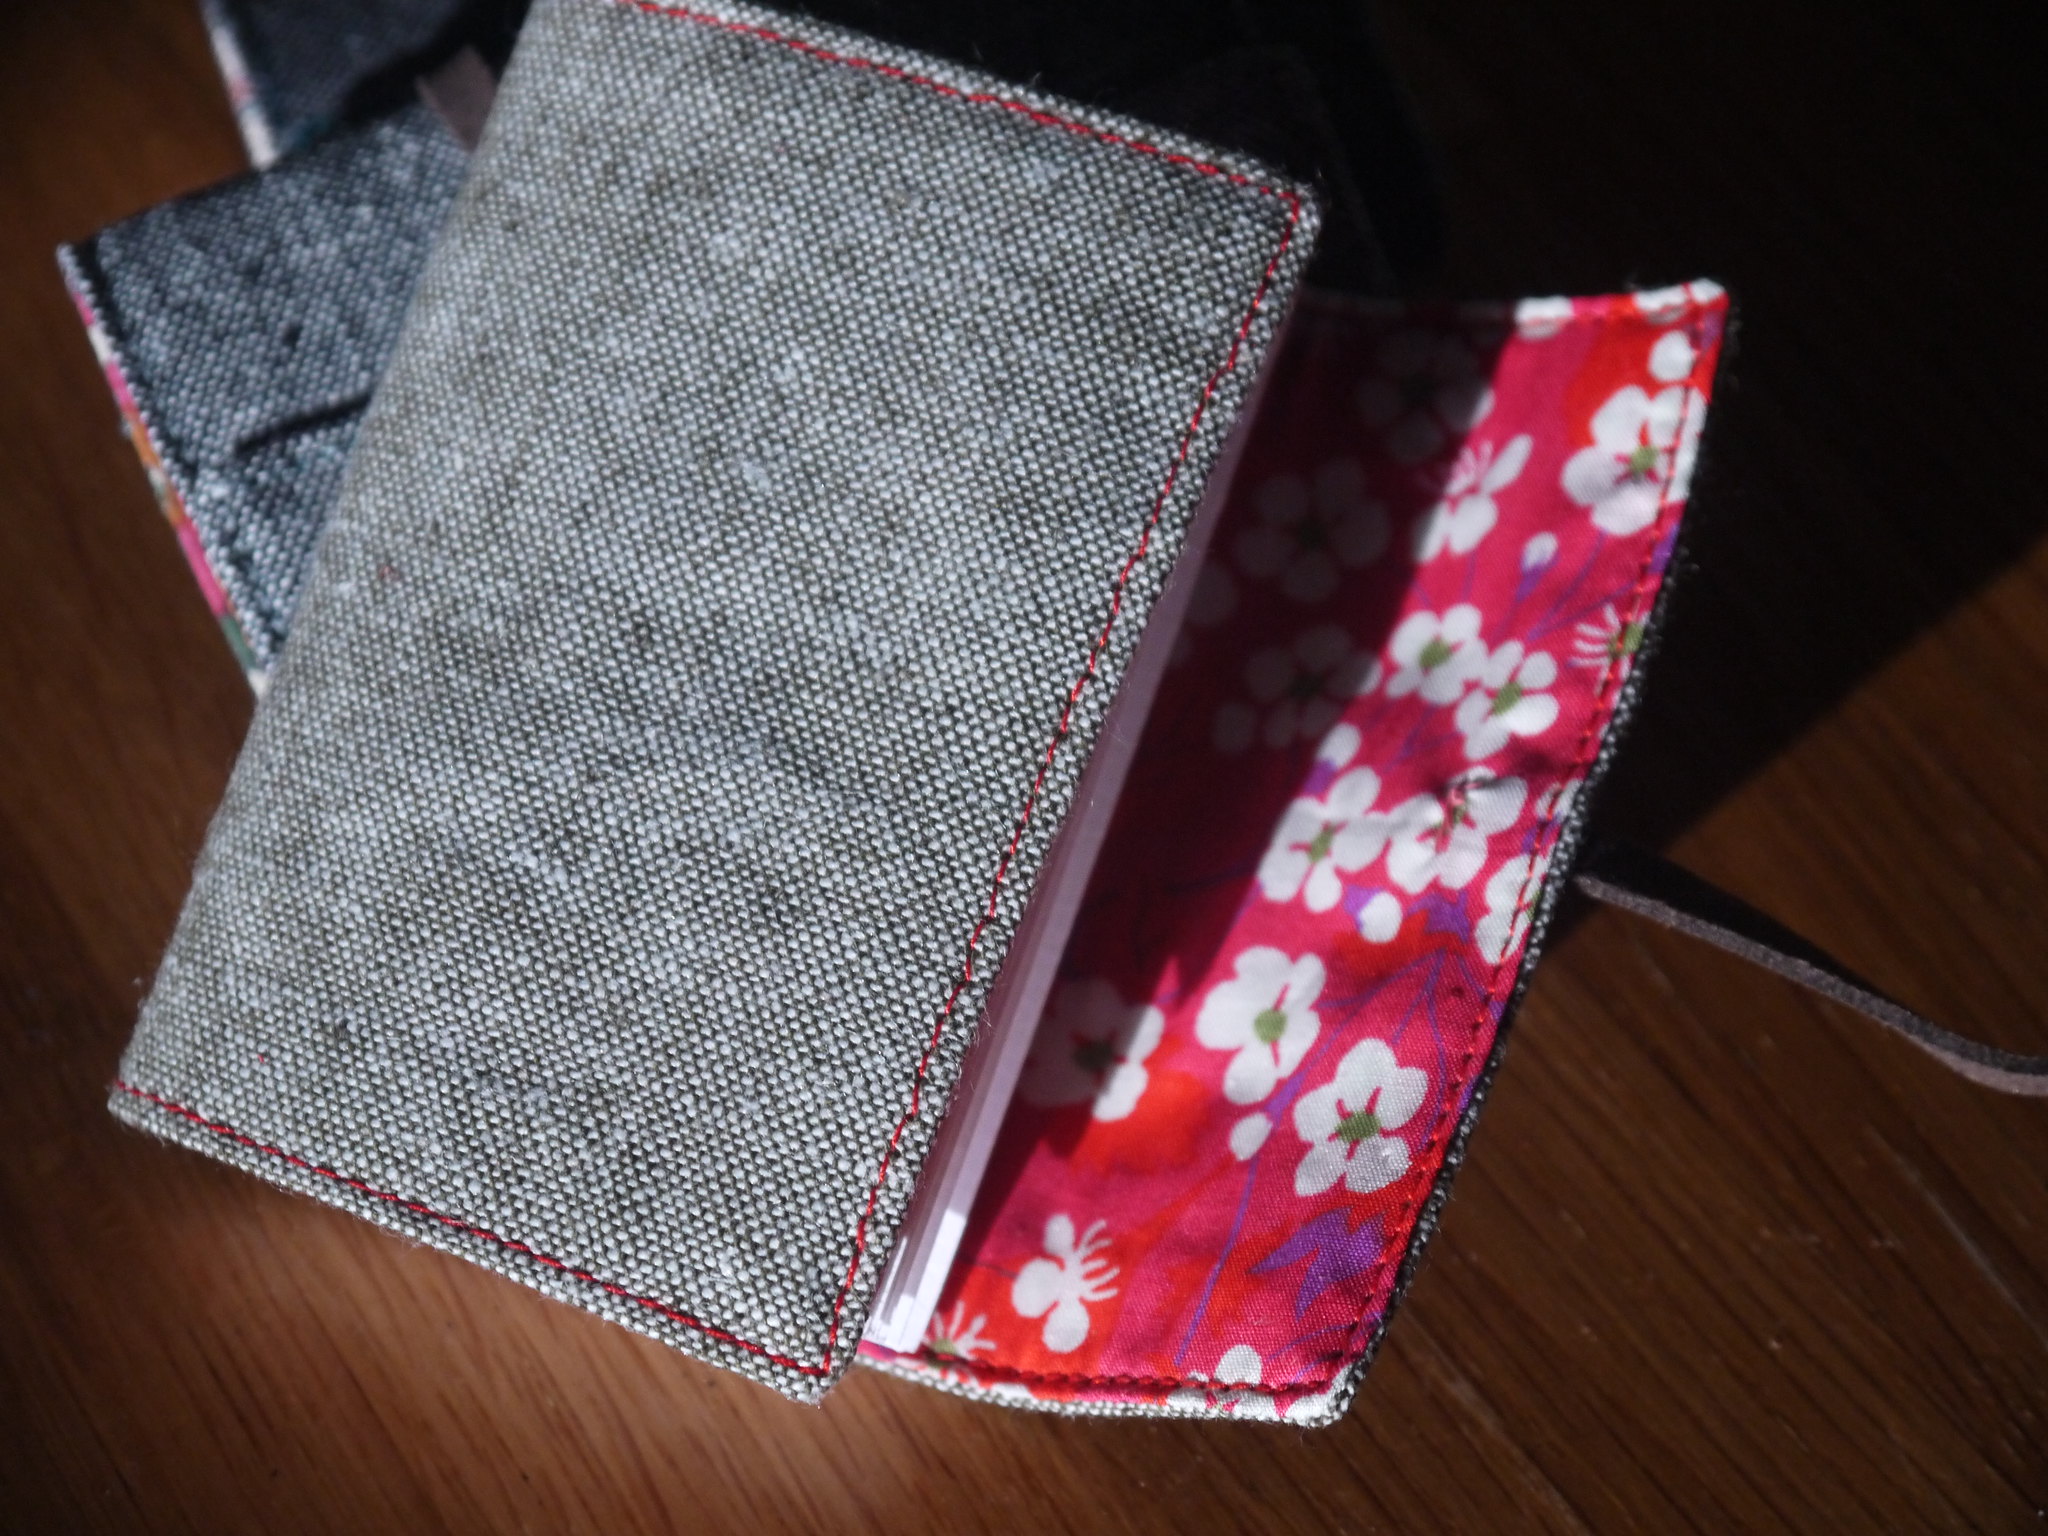
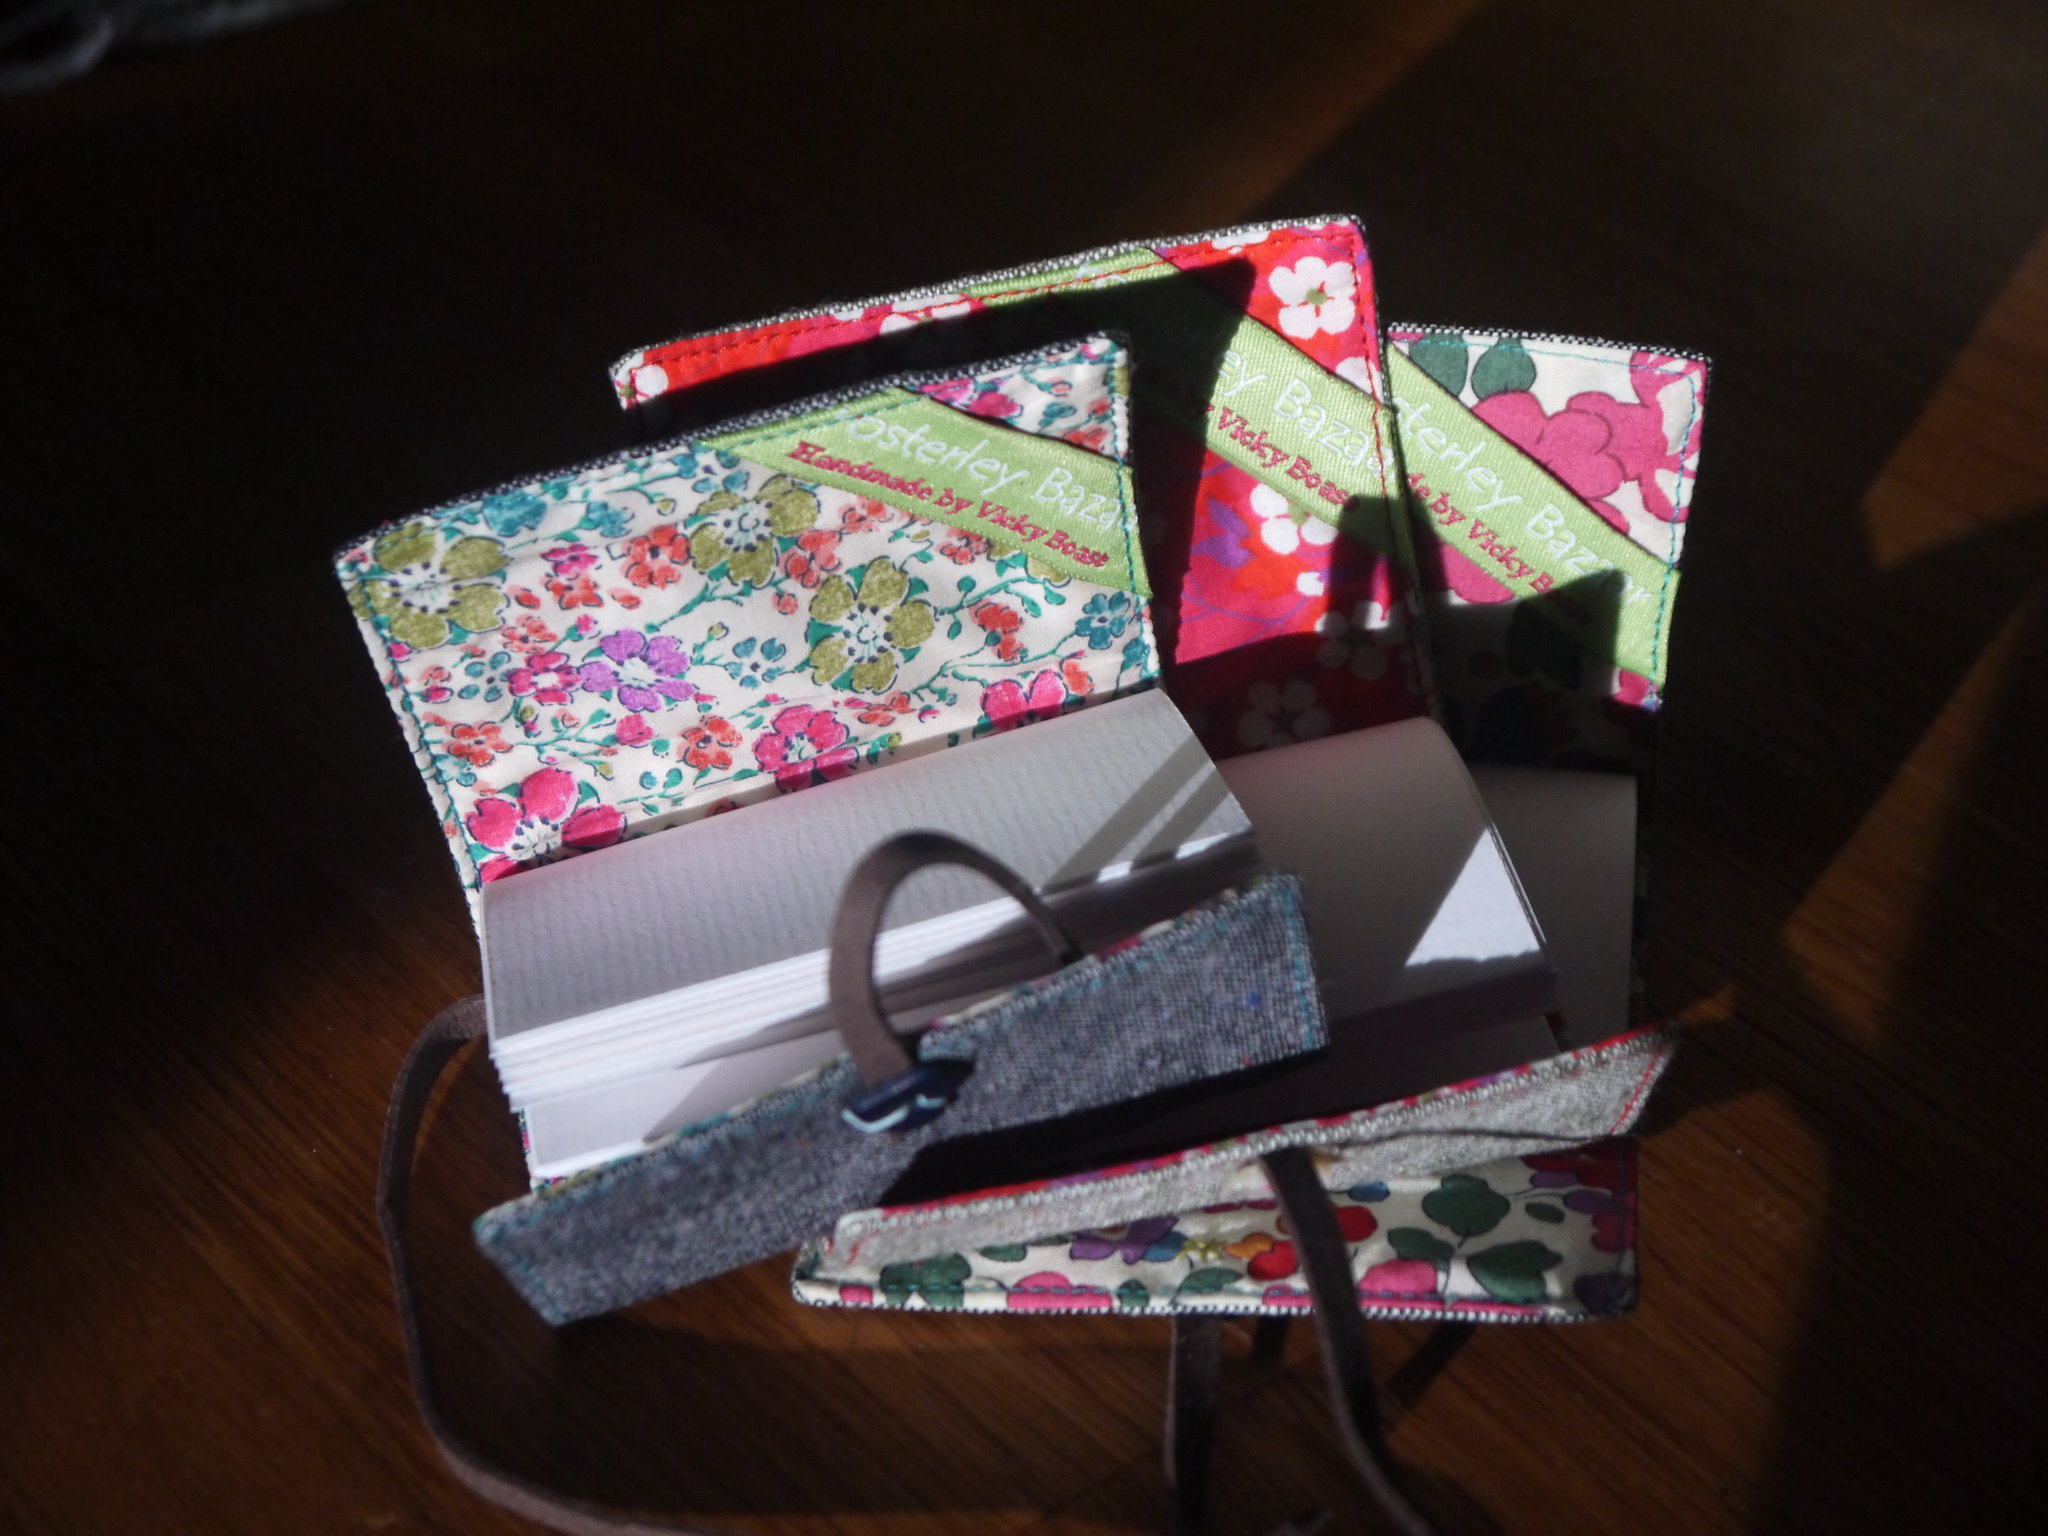
These are tiny notebooks with crispy laid paper hand stitched into a linen wrap-around cover, lined with Liberty lawn. A leather tie winds around to keep the notebook closed.
Great for using up scraps of linen, whilst not eating up too much of your precious Liberty stash! Making one of these miniature books is a satisfying little project for an afternoon.
I used a variety of Essex linens and Liberty prints - can't decide on a favourite though! Will I be able to give these away, or will I have to keep them all??! One in each bag I think!
Sunday, 17 January 2016
Ysolda's cadeautje
Happy New Year!
Before Christmas I was super-busy knitting four of these fantastic socks, from a pattern by Ysolda. The word "cadeautje" translates from Dutch as (I think) "present" or "gift", which is exactly what these are perfect for. I finished the last sock of the two pairs on Christmas Eve, and left them by the fire for the recipients to find on Christmas morning. They went straight on and have been popular on our chilly floors ever since.
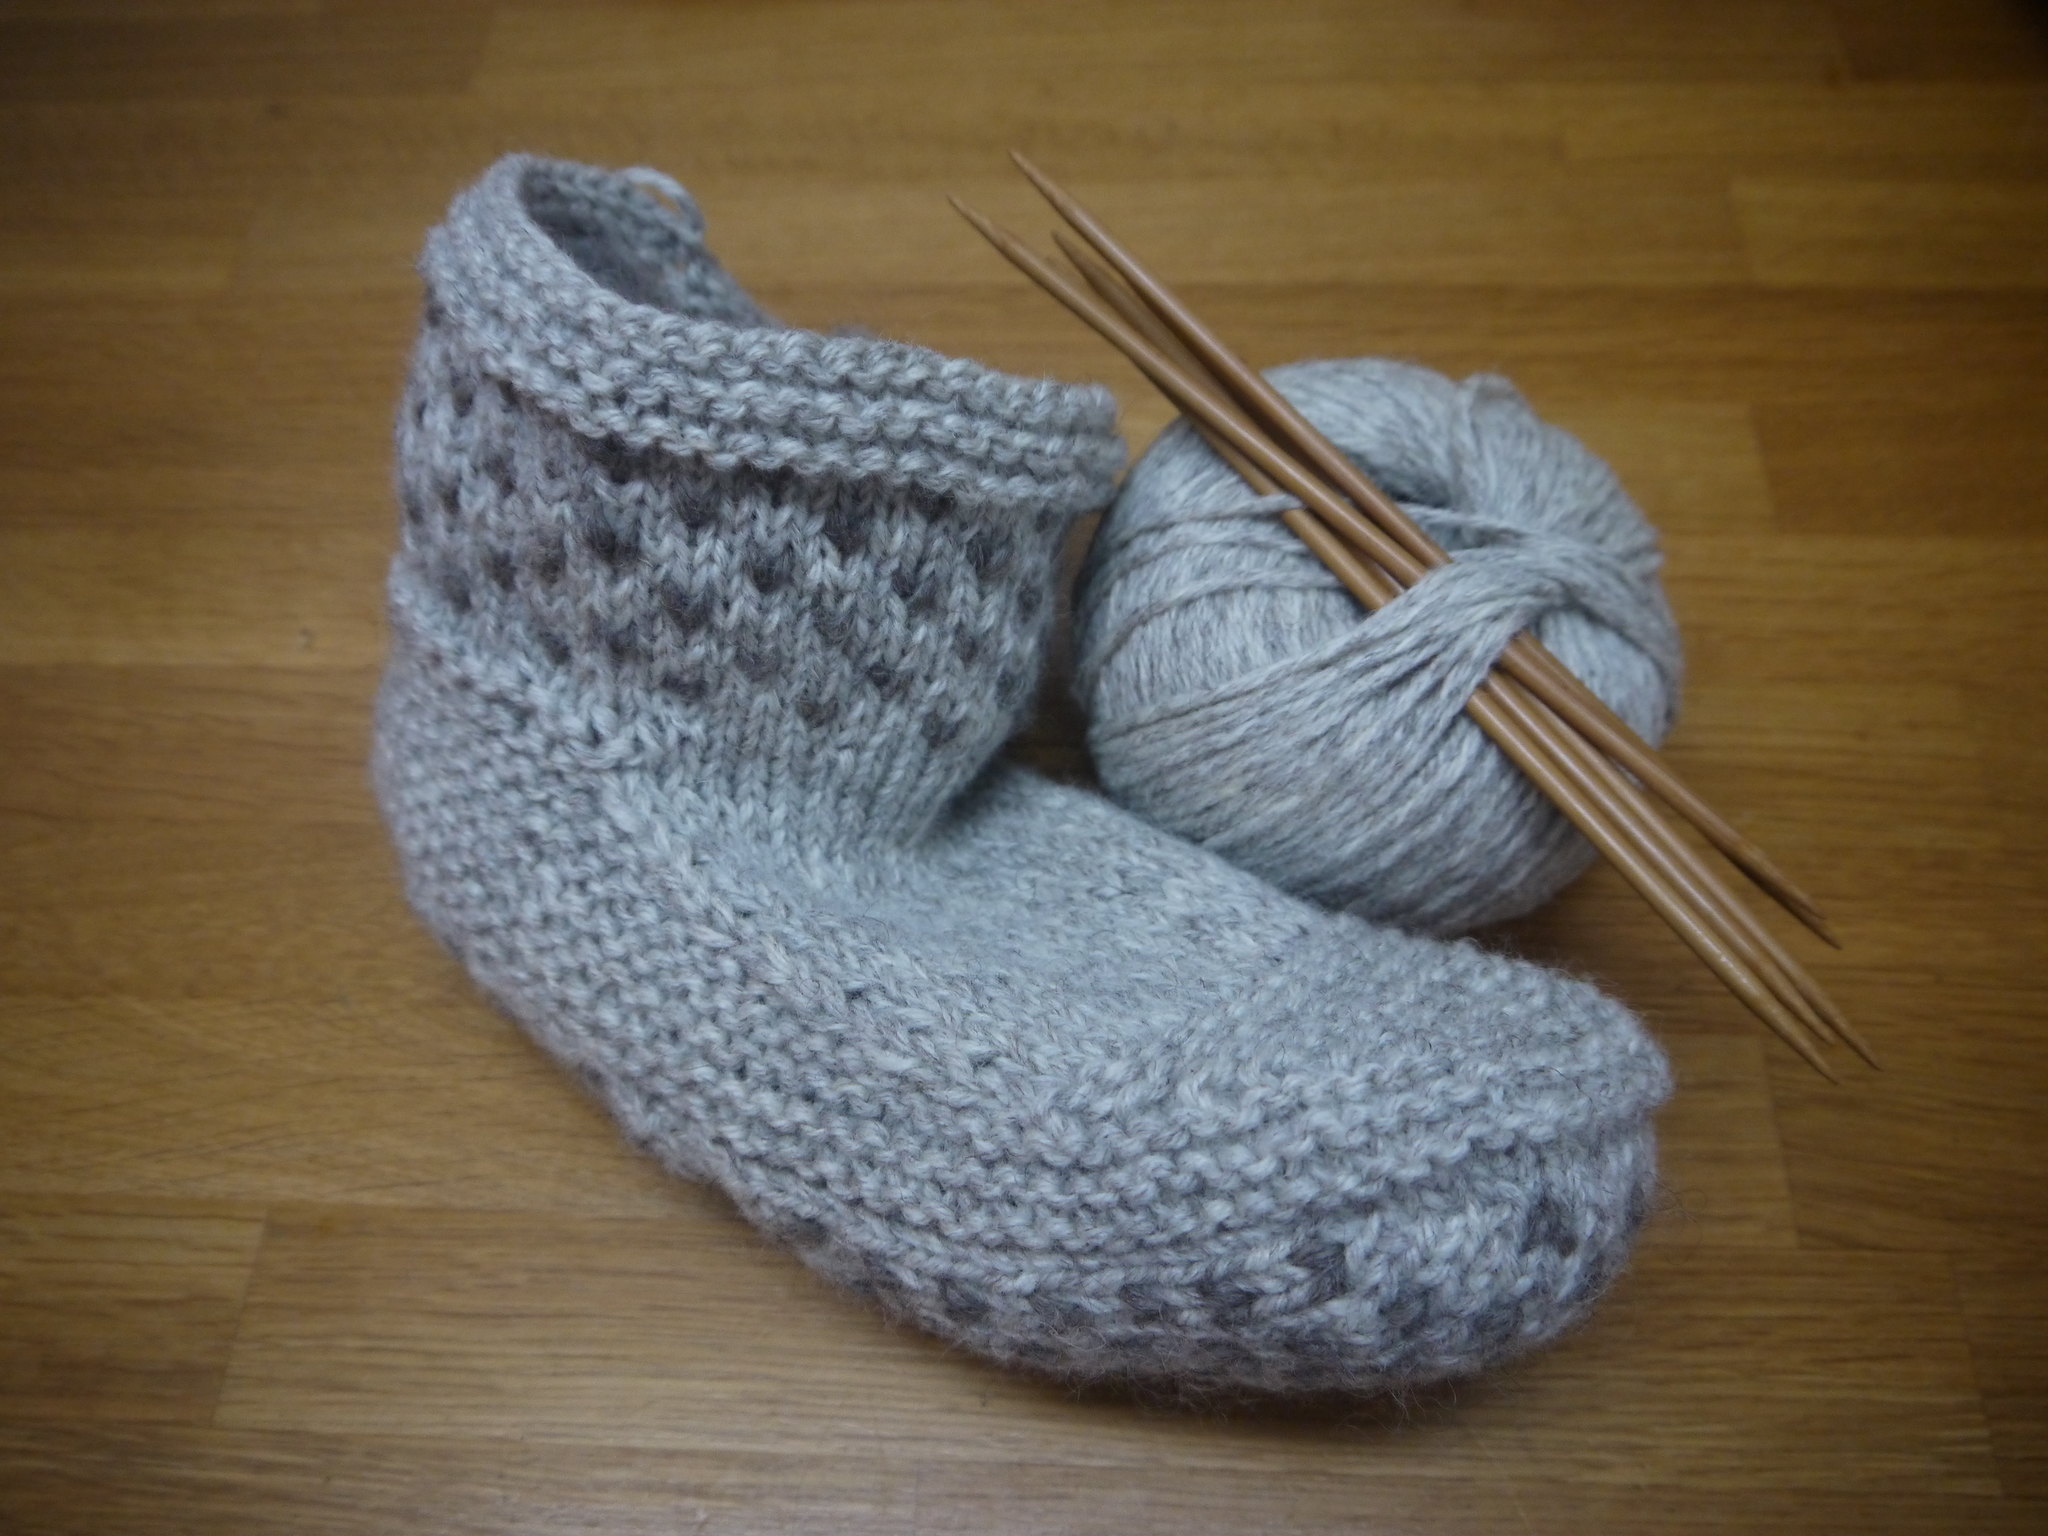
Then on Boxing Day, cast on for another pair! And when these are finished, I'll finally do a pair for myself. I love the way the sole curves up at the toe, due to the clever way the stitches are picked up for the welt and then decreased into the toe cap.
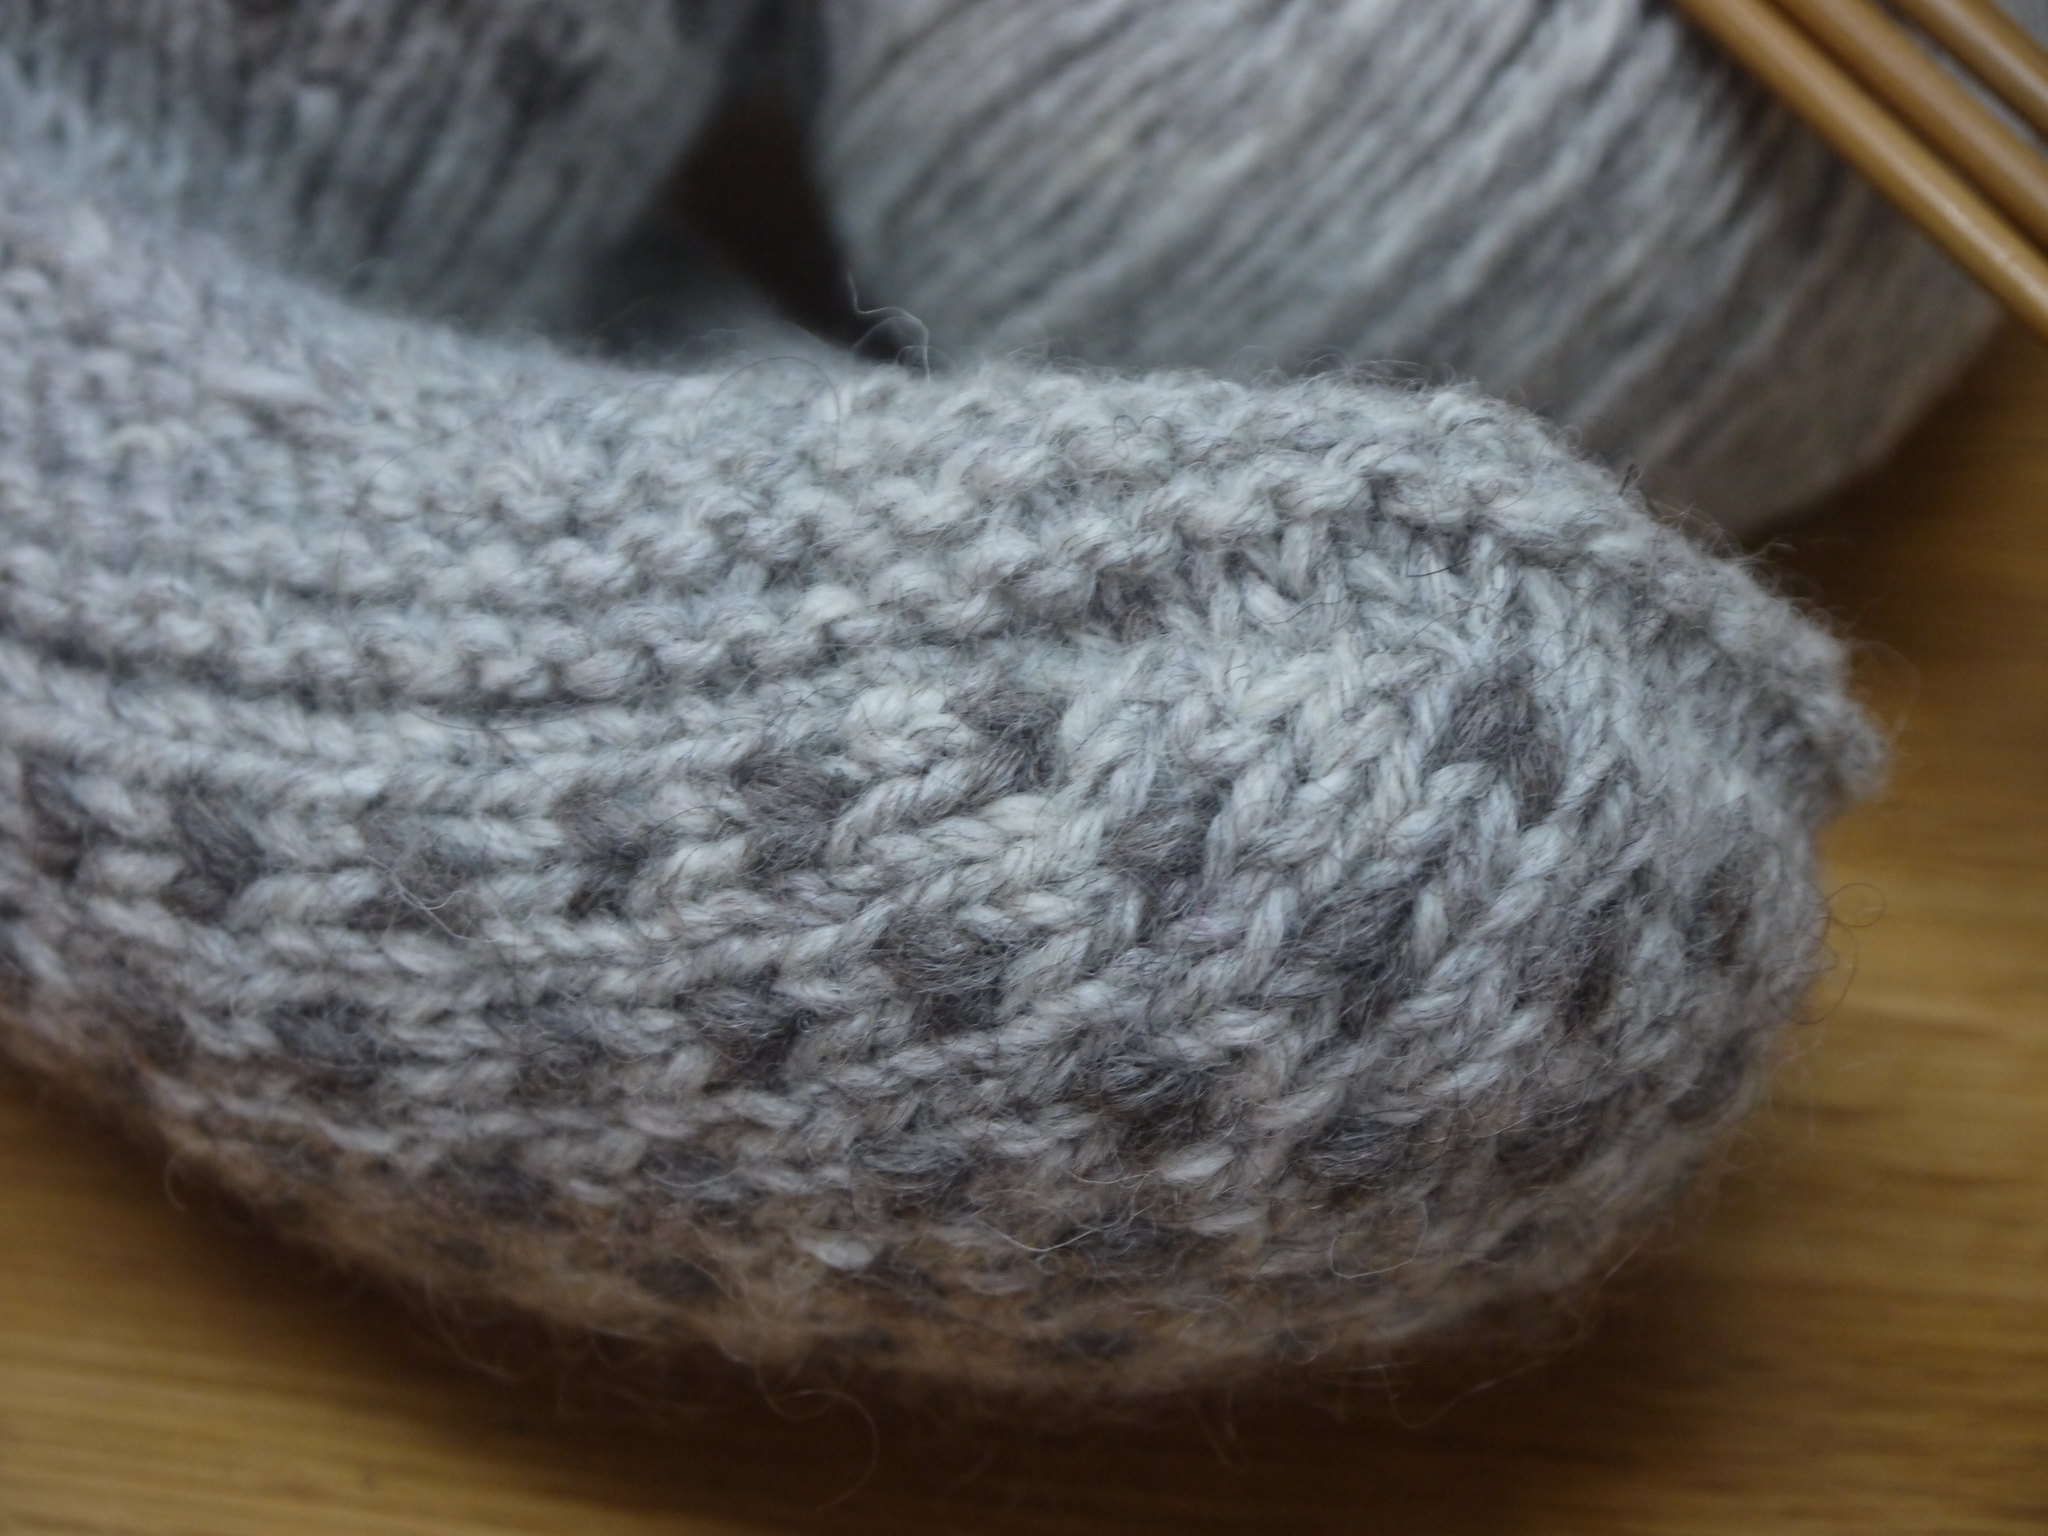
As we've had some snow, I thought some pictures of these extra-cosy socks outdoors would be appropriate.
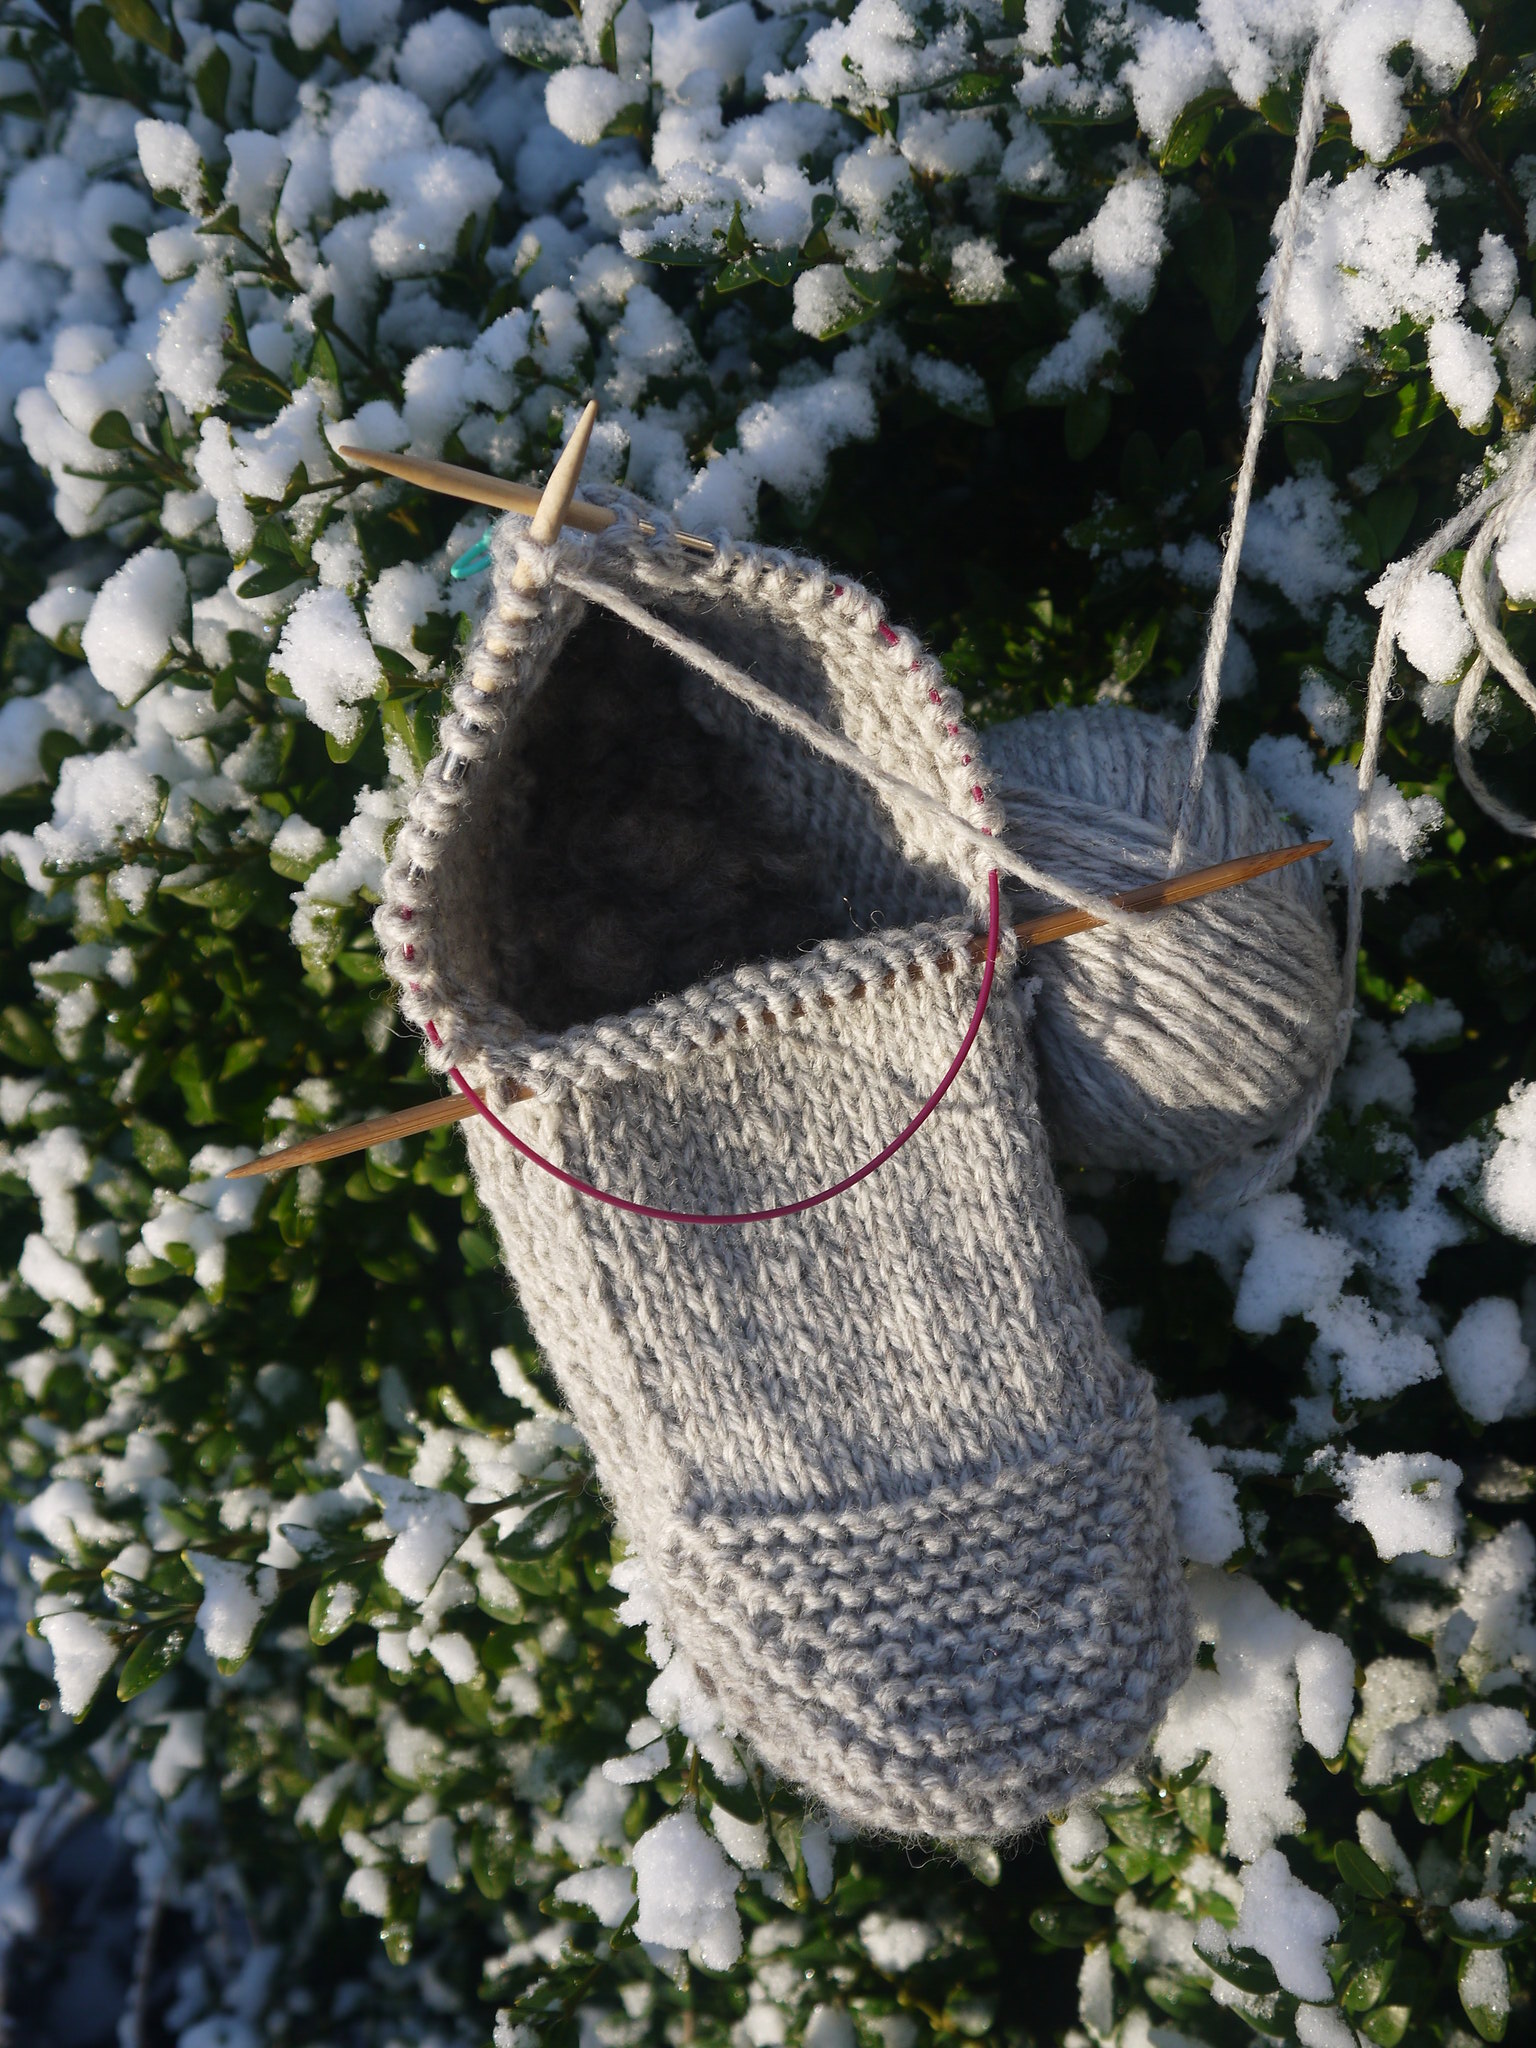
You do kind of need a good selection of needles for these. I used double-pointed as well as a 45cm circular, and at some points used both the dpns and circular together. If you are buying needles for the project, I would go for two 45cm circulars. One set of 5 dpns is not enough for all the stitches of the adult sizes!
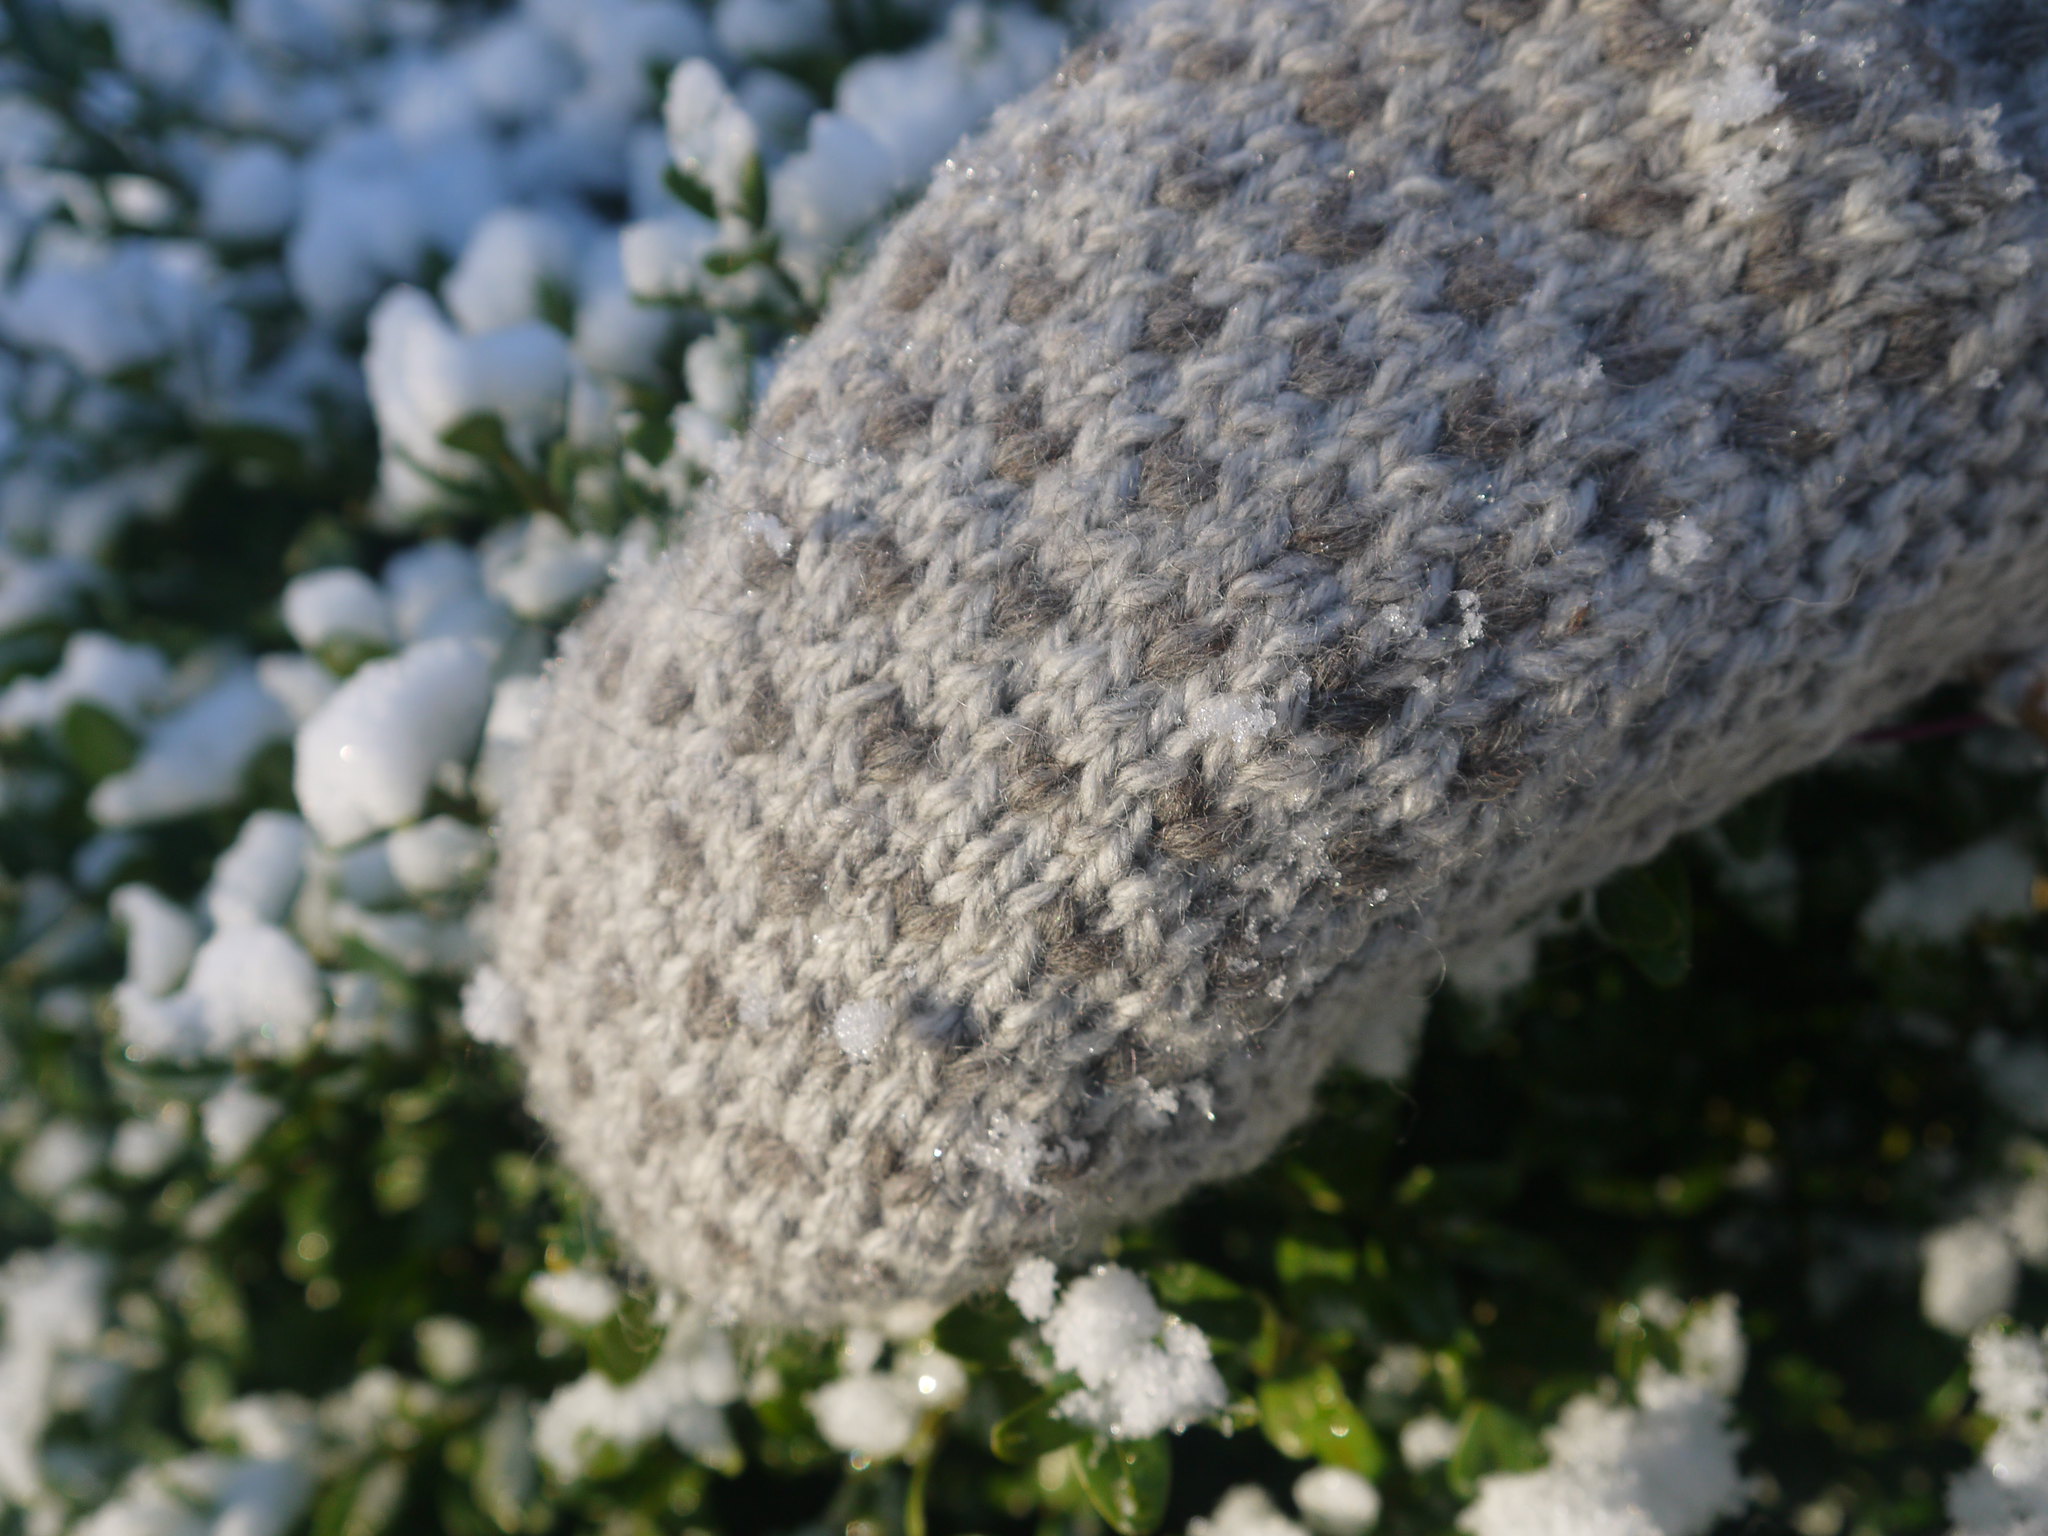
You can buy and download the pattern from Ysolda's website here. Check back in a week or so for another post about MY slippers!
Subscribe to:
Posts (Atom)